
DIY: birthday calendar
We have the solution to stop missing birthdays! Make a birthday calendar with our tutorial. Place it in the hall or kitchen and write down the birthdays of all your loved ones.
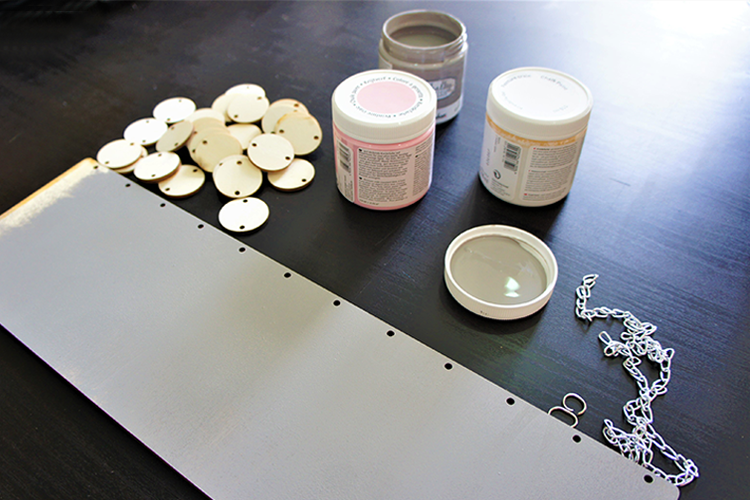
Material :
- Chalky finish paint (we used grey, pink and white for the writing)
- A ribbon for the tie (We have chosen this grey ribbon which is exactly the same colour as our grey paint)
- A Rico Design letter stencil to make the initials of the months
- Tracing paper
To make a birthday calendar:
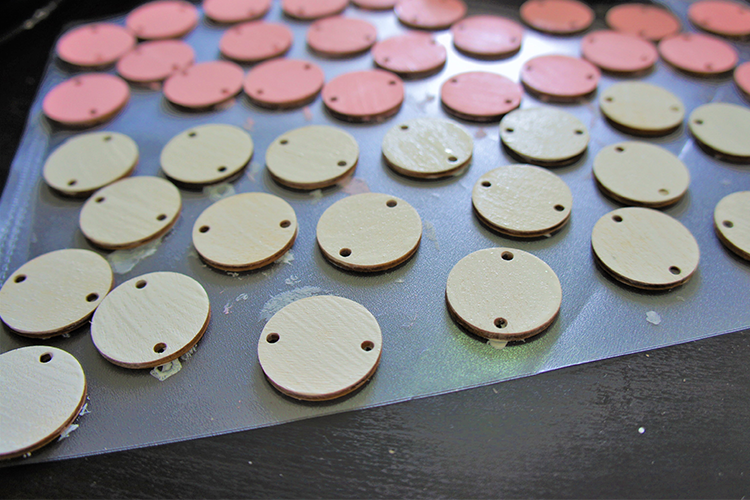
1. First, paint the pieces on your calendar.
We used light grey for the plate and half of the wooden circles and pink for the rest of the wooden circles.
2. For the "Anniversaires" inscription, choose a handwriting and print your text on a sheet of paper. Use tracing paper to reproduce the writing on your wooden plate. Make sure that the writing is in the right direction and not reversed! You can now paint the writing with a fine brush (the fine brush in the Rico Design brush set is perfect for this). If you are not comfortable with this precision brushwork, you can also use an alphabet stencil or stickers!
3. Paint the initials of the months of the year with the Rico Design stencil.
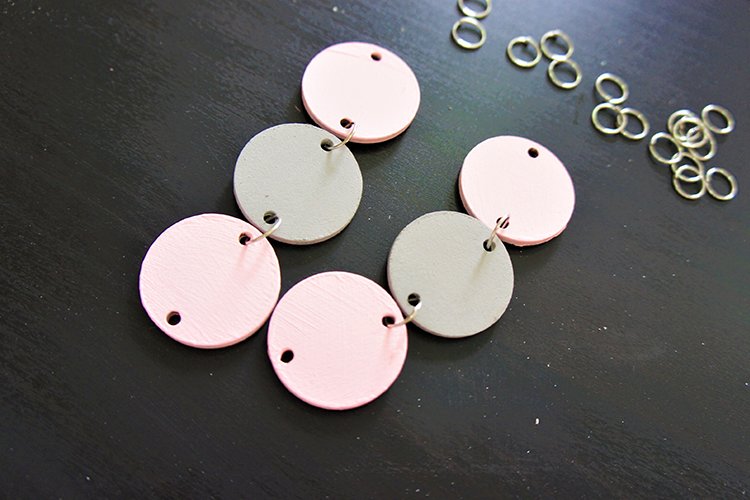
3. Then assemble your wooden parts with the metal rings.
4. For the final touch, we replaced the clip provided in the box with a grey ribbon.
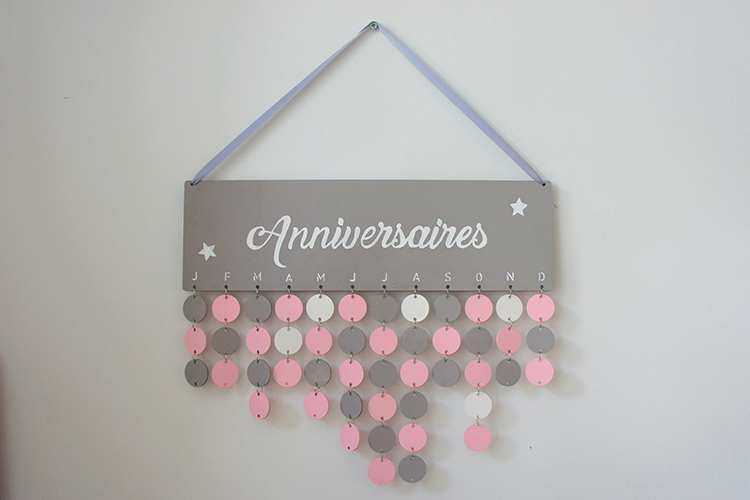
All you have to do now is write the important birthdays on the wooden pieces and never forget them again!