DIY: Passport protector Japan
It's almost vacation time and you're getting ready to fly to sunny beaches? Remember to protect your documents with a simple personalized passport protector!
Material:
- 1 leatherette sheet by Artemio (we chose the salmon pink)
- 1 metallic iron-on transfer foil by Rayher
- Transparent gel stickers by Rico Design
- A sewing machine
- Some thread
- 1 iron
To make this passport protector:
1. Mark and cut your imitation leather sheet to obtain a 14 x 30 cm rectangle.
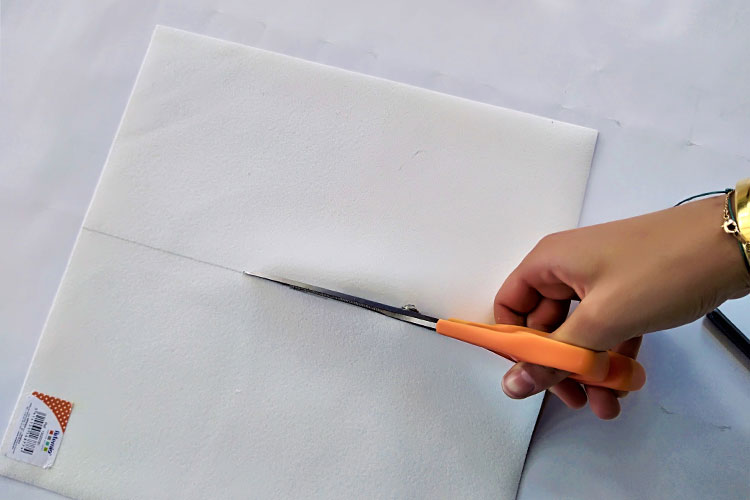
2. Mark the fabric 5 cm on each side to mark the folds of the cover flaps.
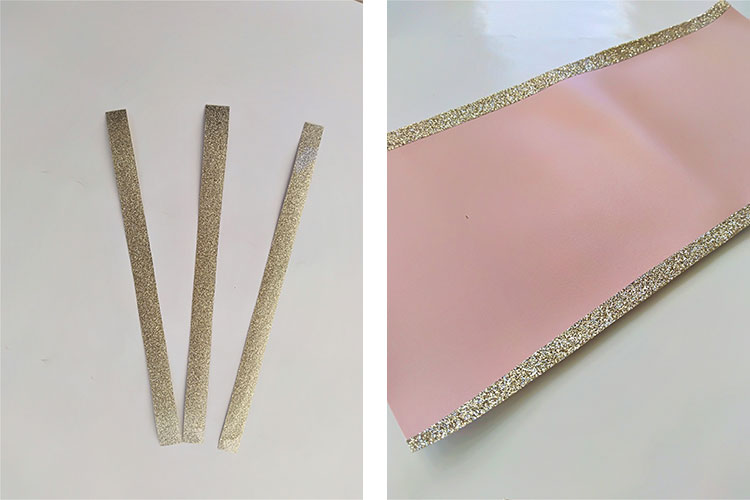
3. Cut the sheet of transfer paper into 2 cm wide strips.
4. Using your iron, stick the heat-transfer to the edges of your imitation leather. To do this, remove the protective film from the transfer foil and position the part covered of glue on your leatherette. To be sure to follow the edge of the imitation leather, let the transfer over the fabric, you can cut it later. Cover the transfer with a cloth and iron over it until the transfer adhere. Be careful, this step is tricky because care must be taken not to damage your imitation leather with the heat of the iron.
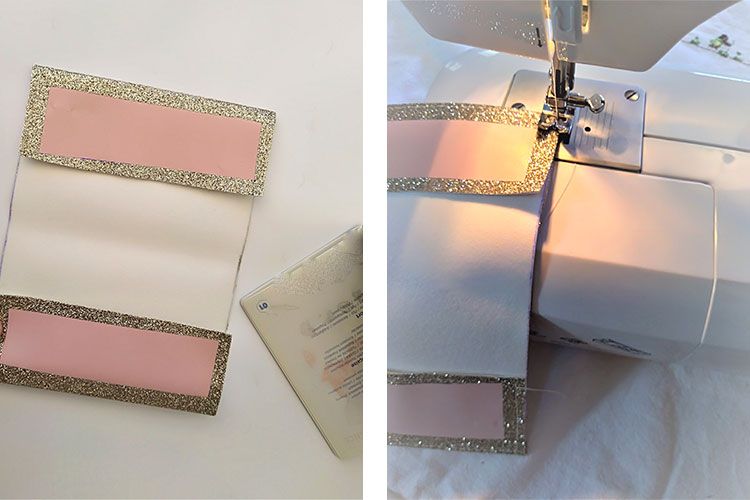
5. Once the 4 edges of your fabric are covered with a gold edging, add 2 strips of 2 cm of fusible on the folds of the flaps of the passport cover.
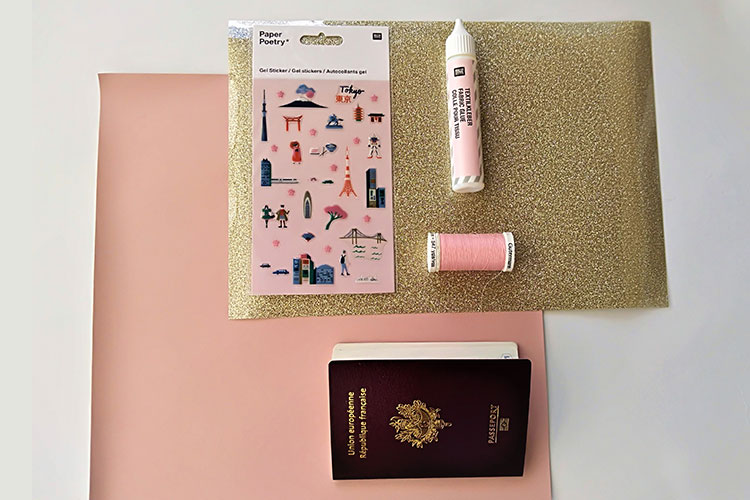
6. Then go to the seam: create a flap on each side of your piece of fabric by folding on the markings made in the 1st step. Hold the fabric with pins. Sew all around the edge of your passport cover 2 mm from the edge.
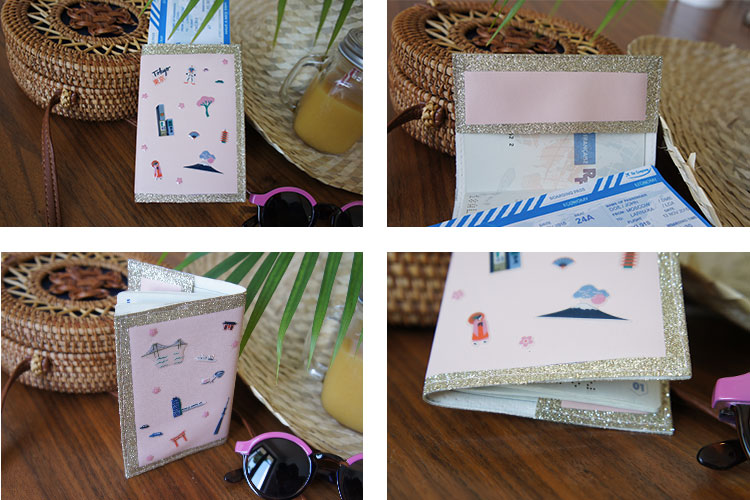
7. You just have to decorate your passeport cover with stickers! You can stick them more durably by using fabric glue to fix them.