
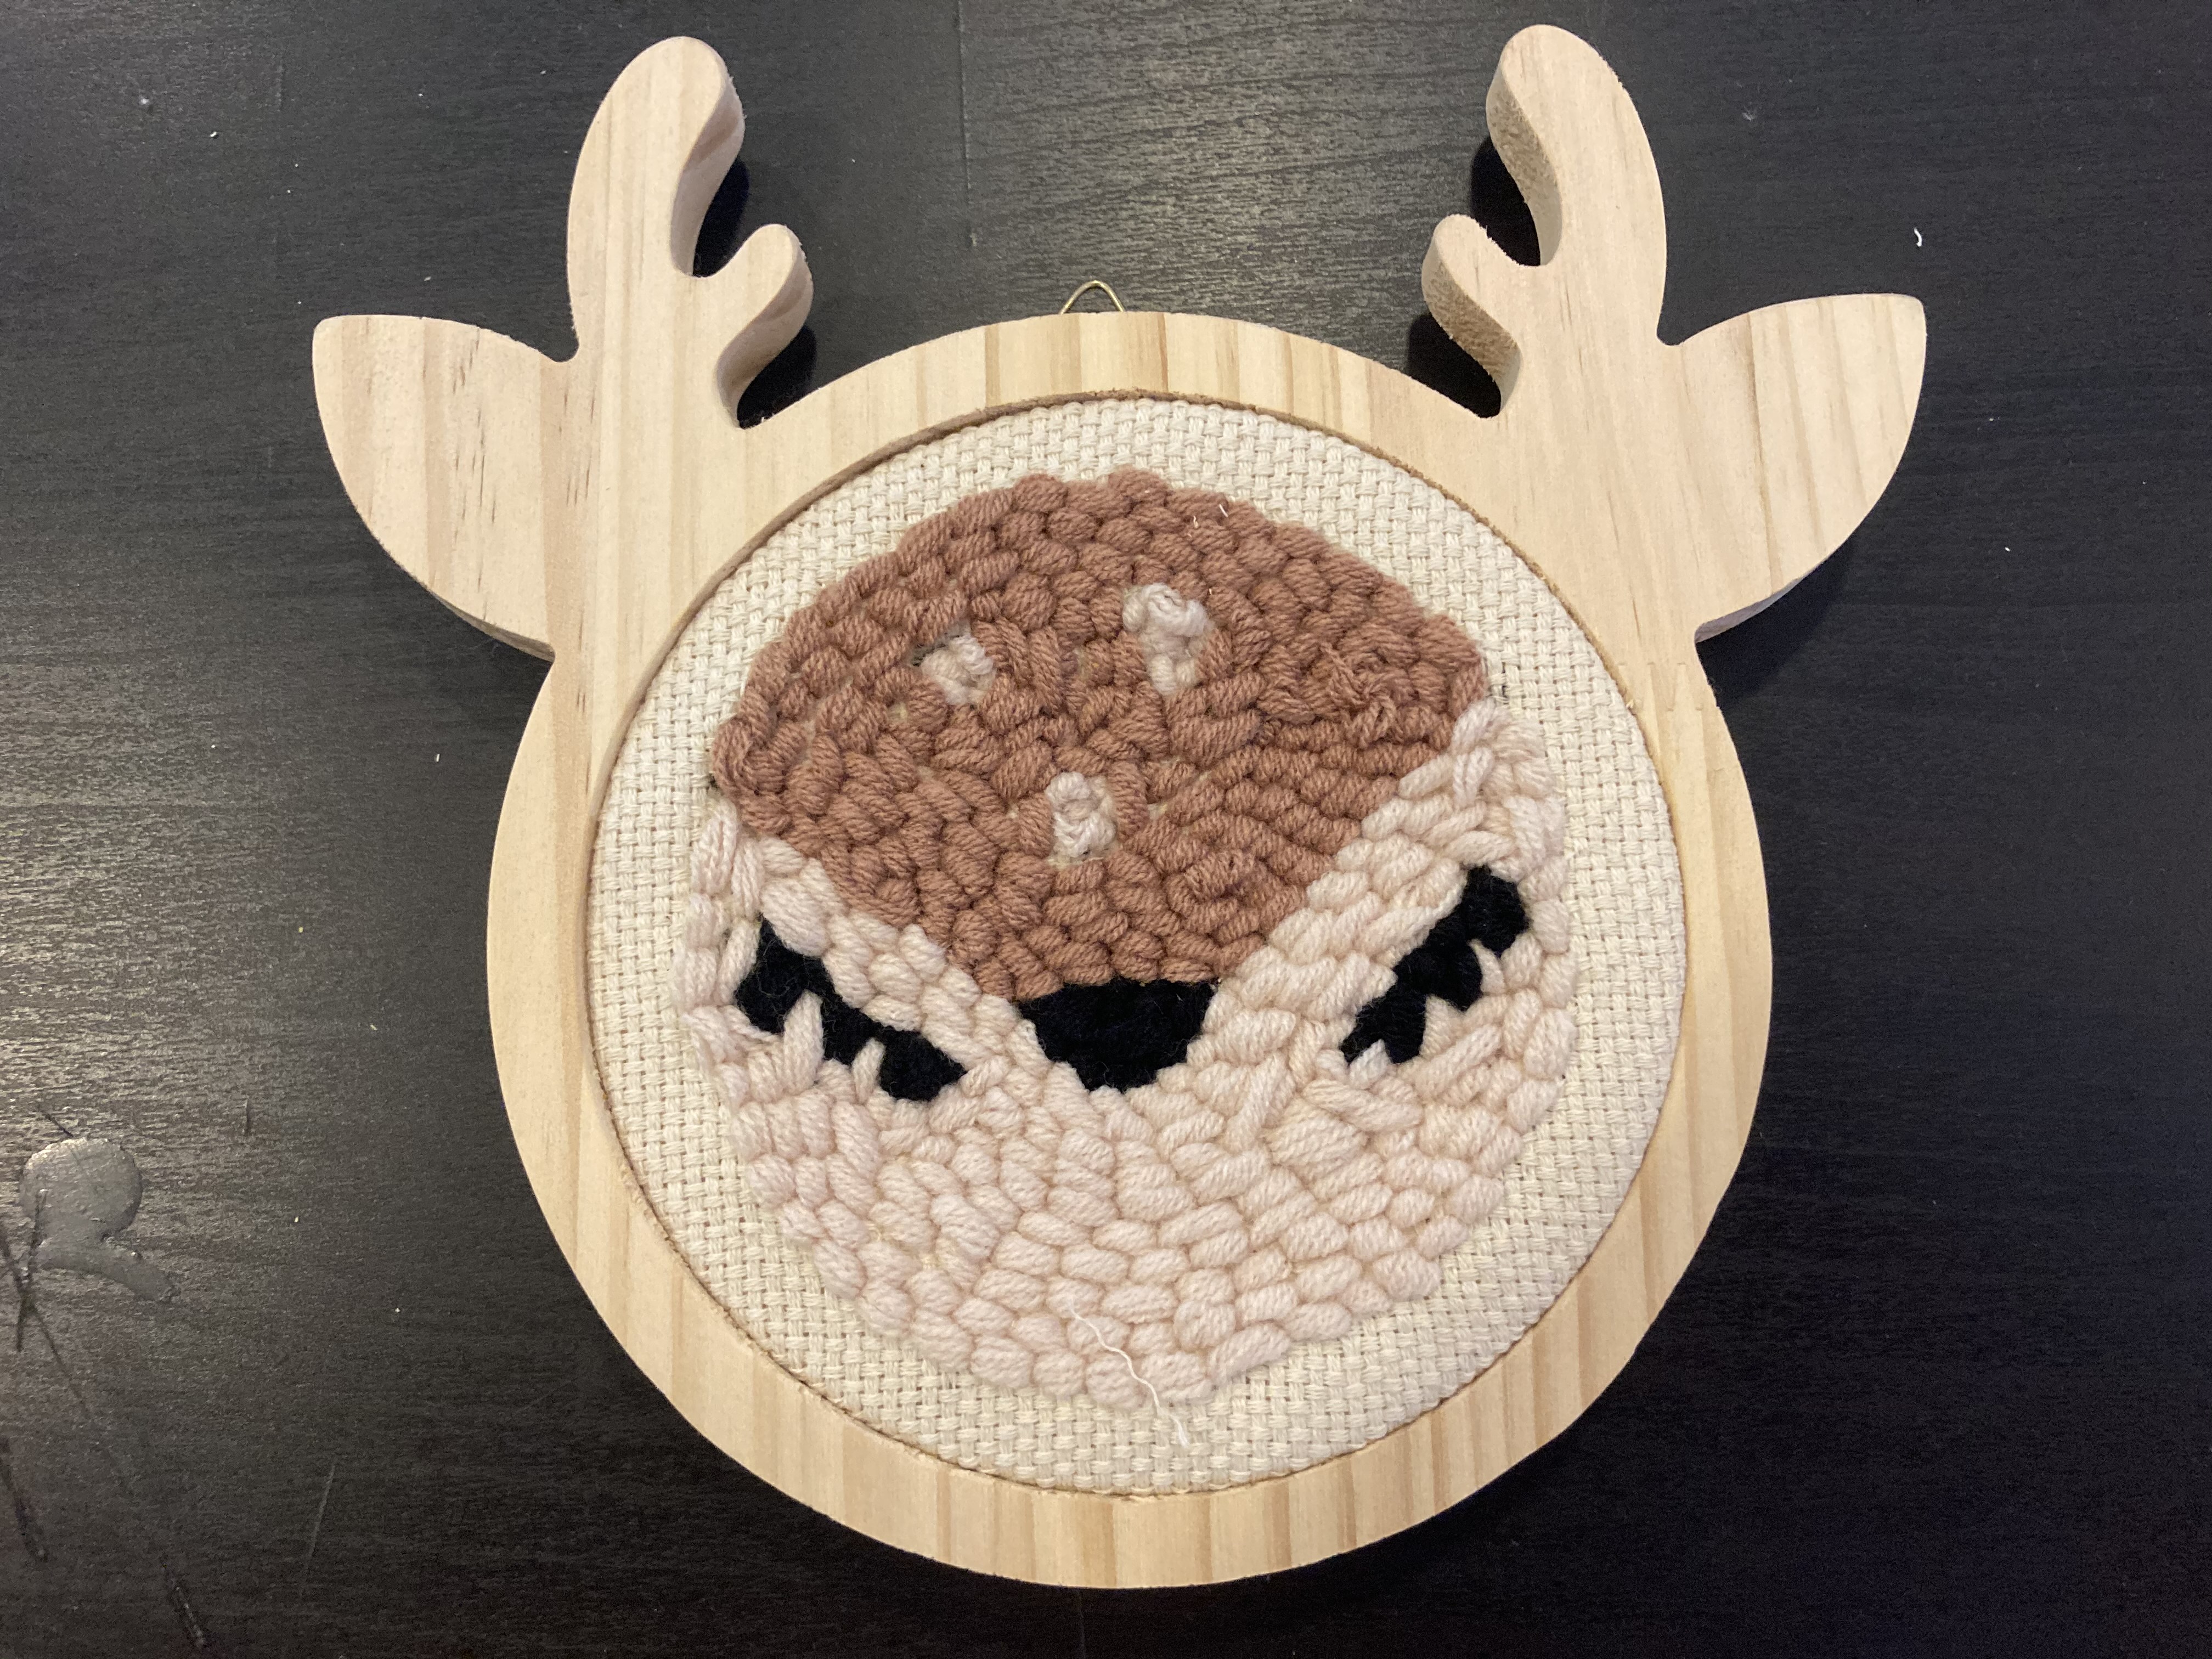
DIY: Punch Needle small doe explained for beginners!
It's not easy to start a manual activity when you are a beginner and no tutorial is clear enough to guide us ... luckily, we are here to help you! Today we are showing you how to make a beautiful small doe punch needle canvas explained in writing and in pictures! It will perfectly decorate a child's room or even a living room!
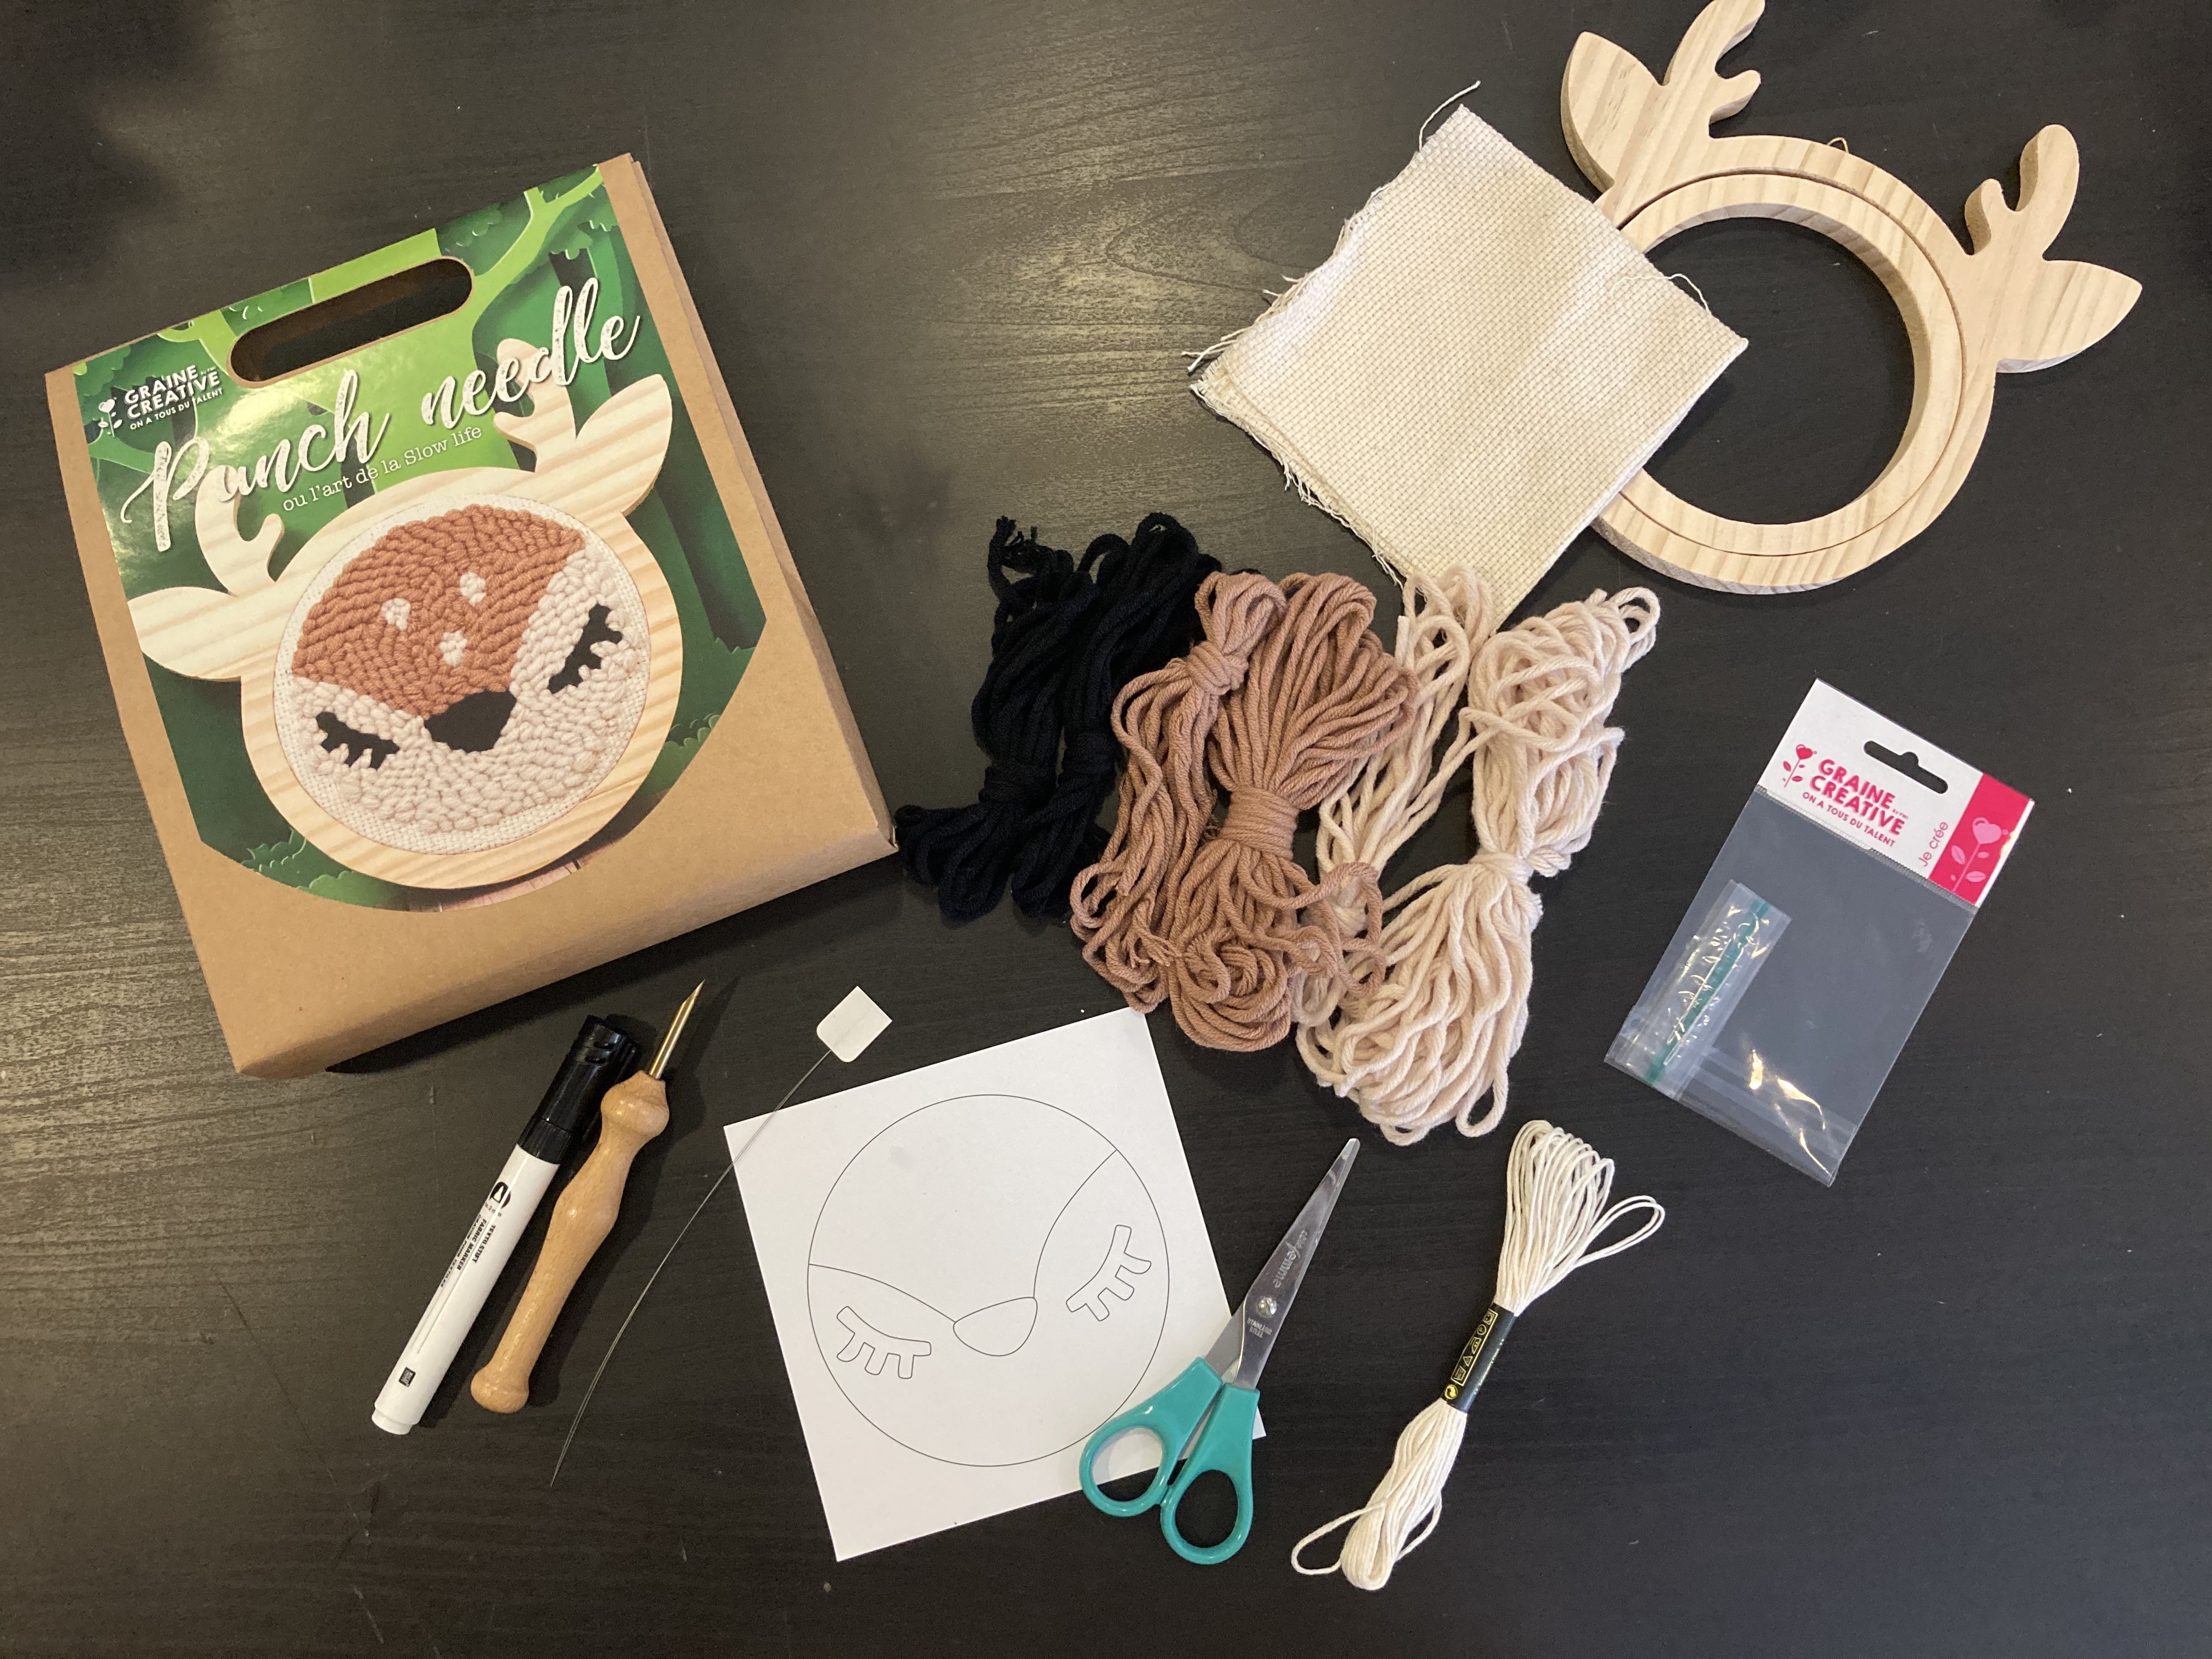
Material:
- Small doe punch needle box (wooden support frame, canvas, small doe design, beige, brown, black wool, needle threader, punch needle handle)
- Fabric felt
- Embroidery scissors
- Beige thread
- Needle
Steps :
UPSTREAM
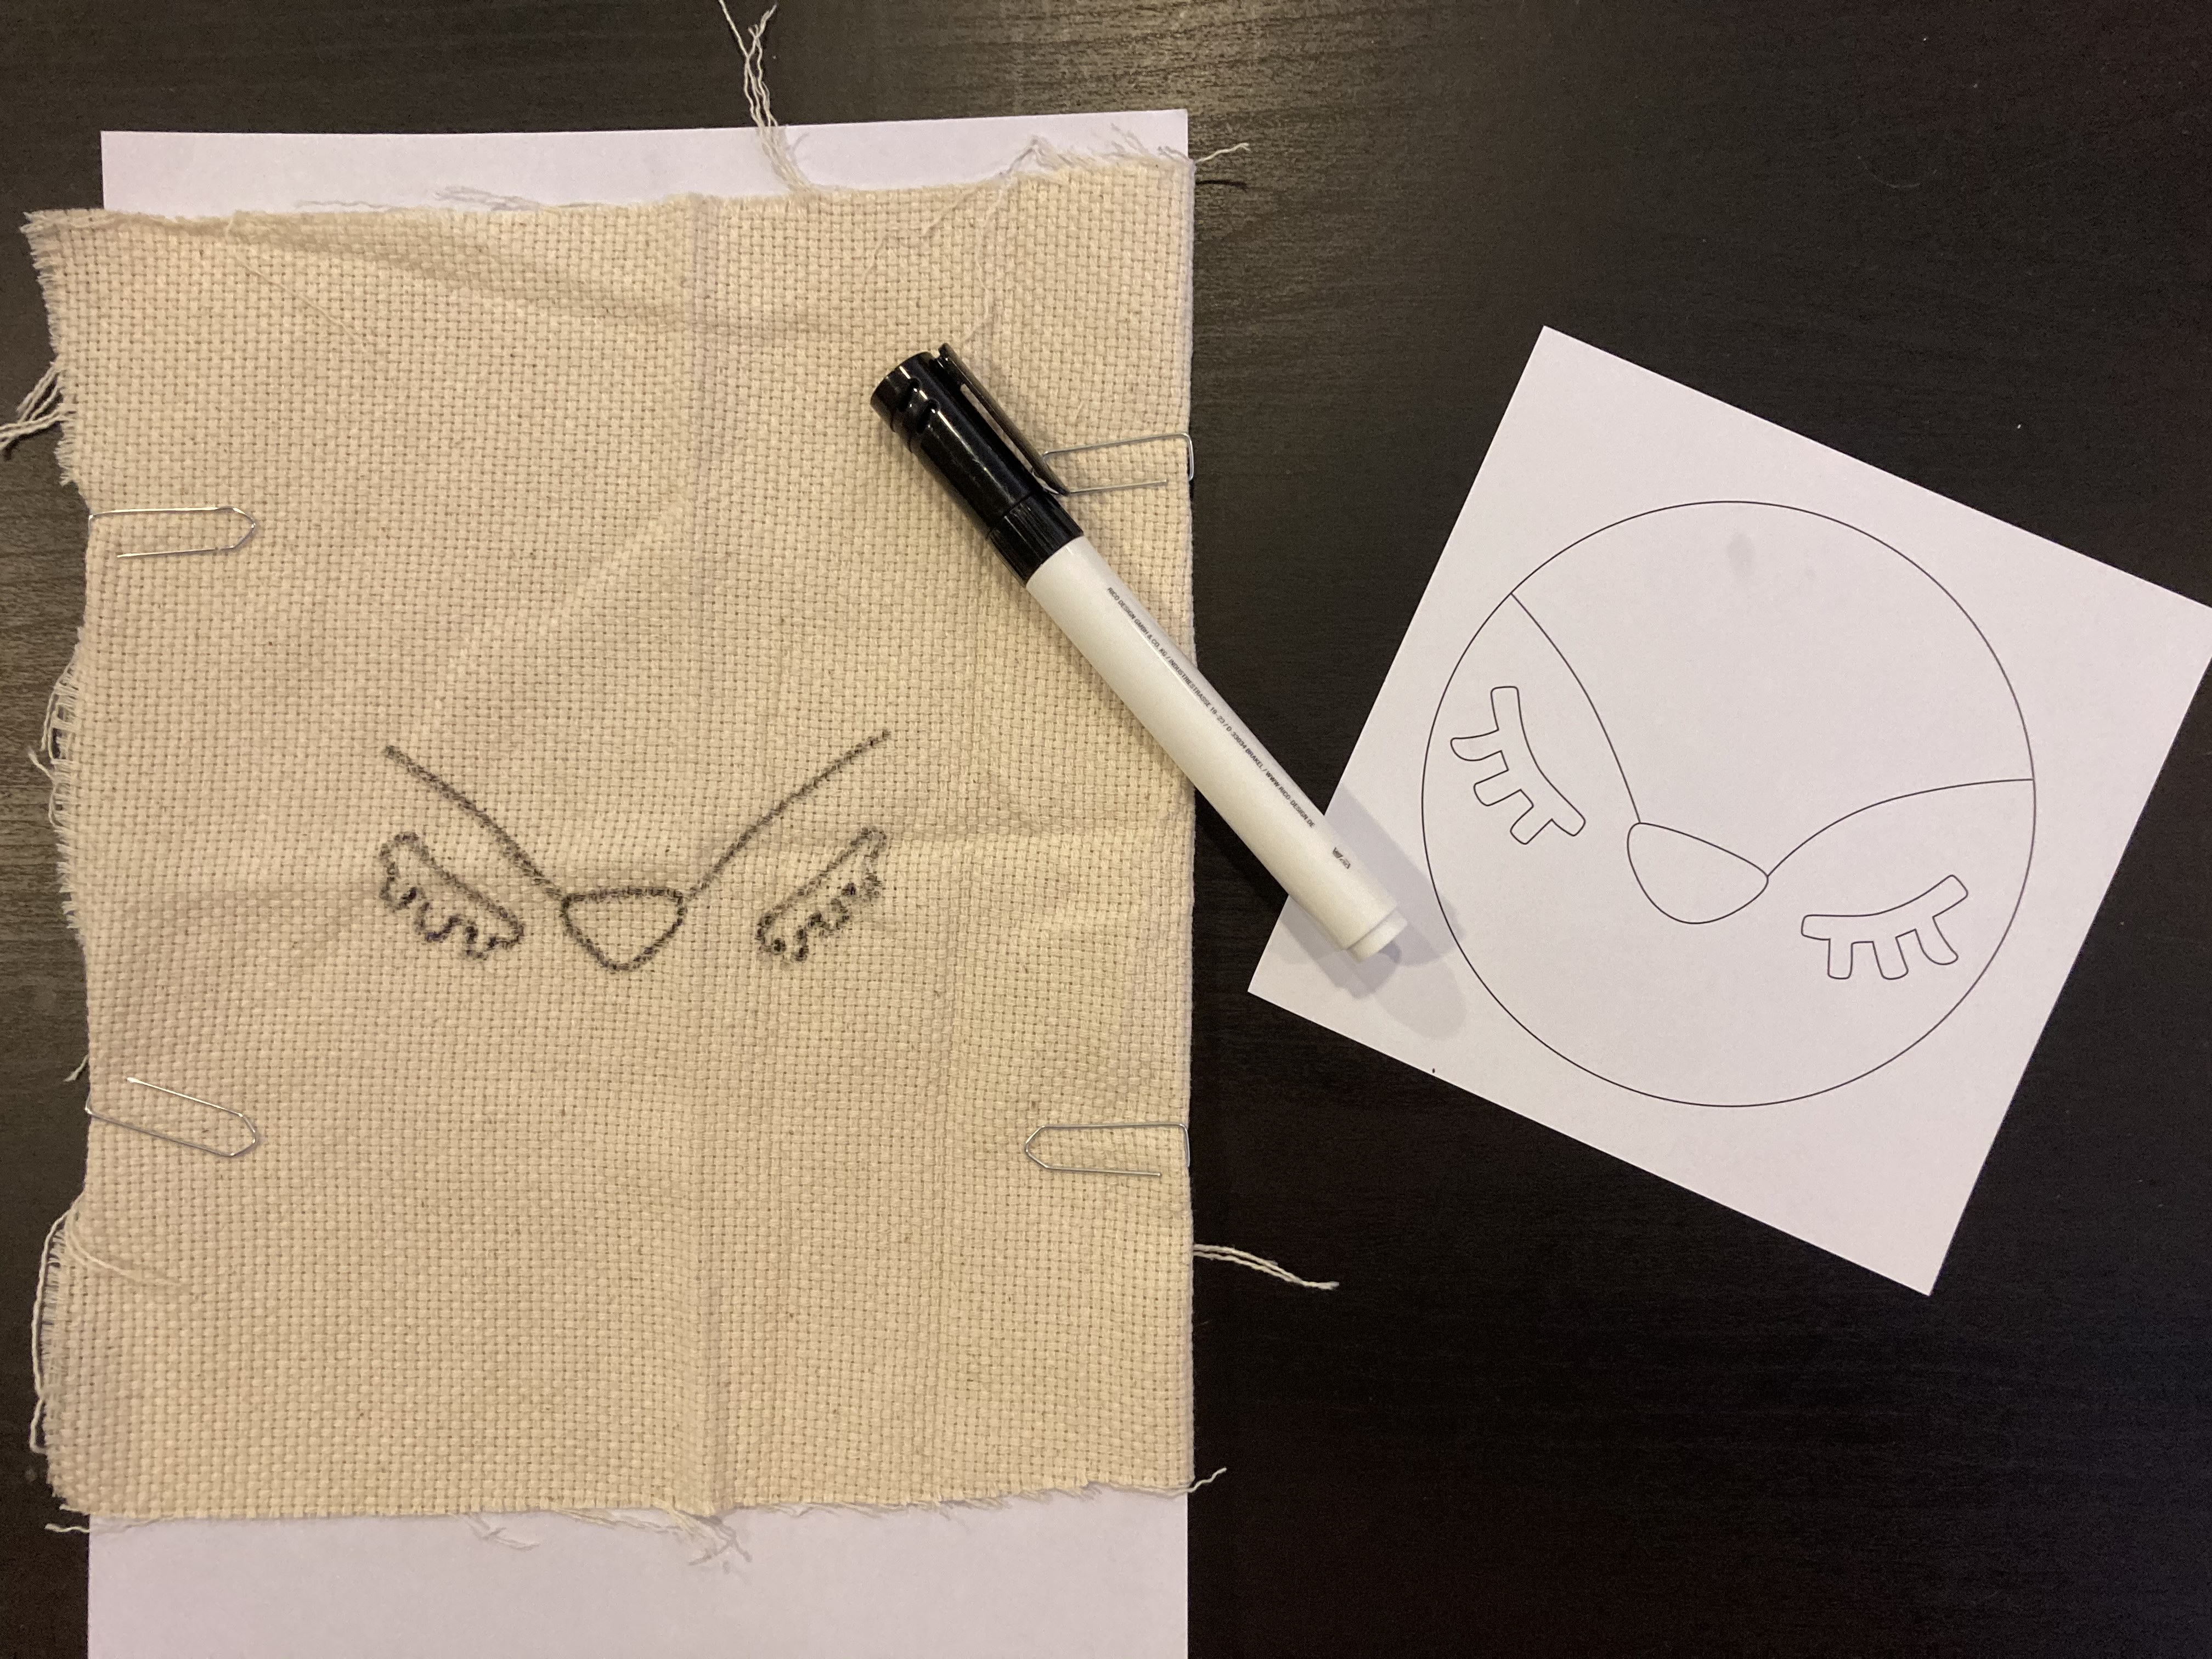
Place the canvas on the drawing and by transparency, reproduce it on the canvas using the fabric marker. TIP: If you can't see the design through transparency, copy the design onto a sheet of paper and place the fabric on top hung with paper clips. You should now see the design through if you place it on a window.
Insert the canvas between the two parts of the wooden support and stretch it well.

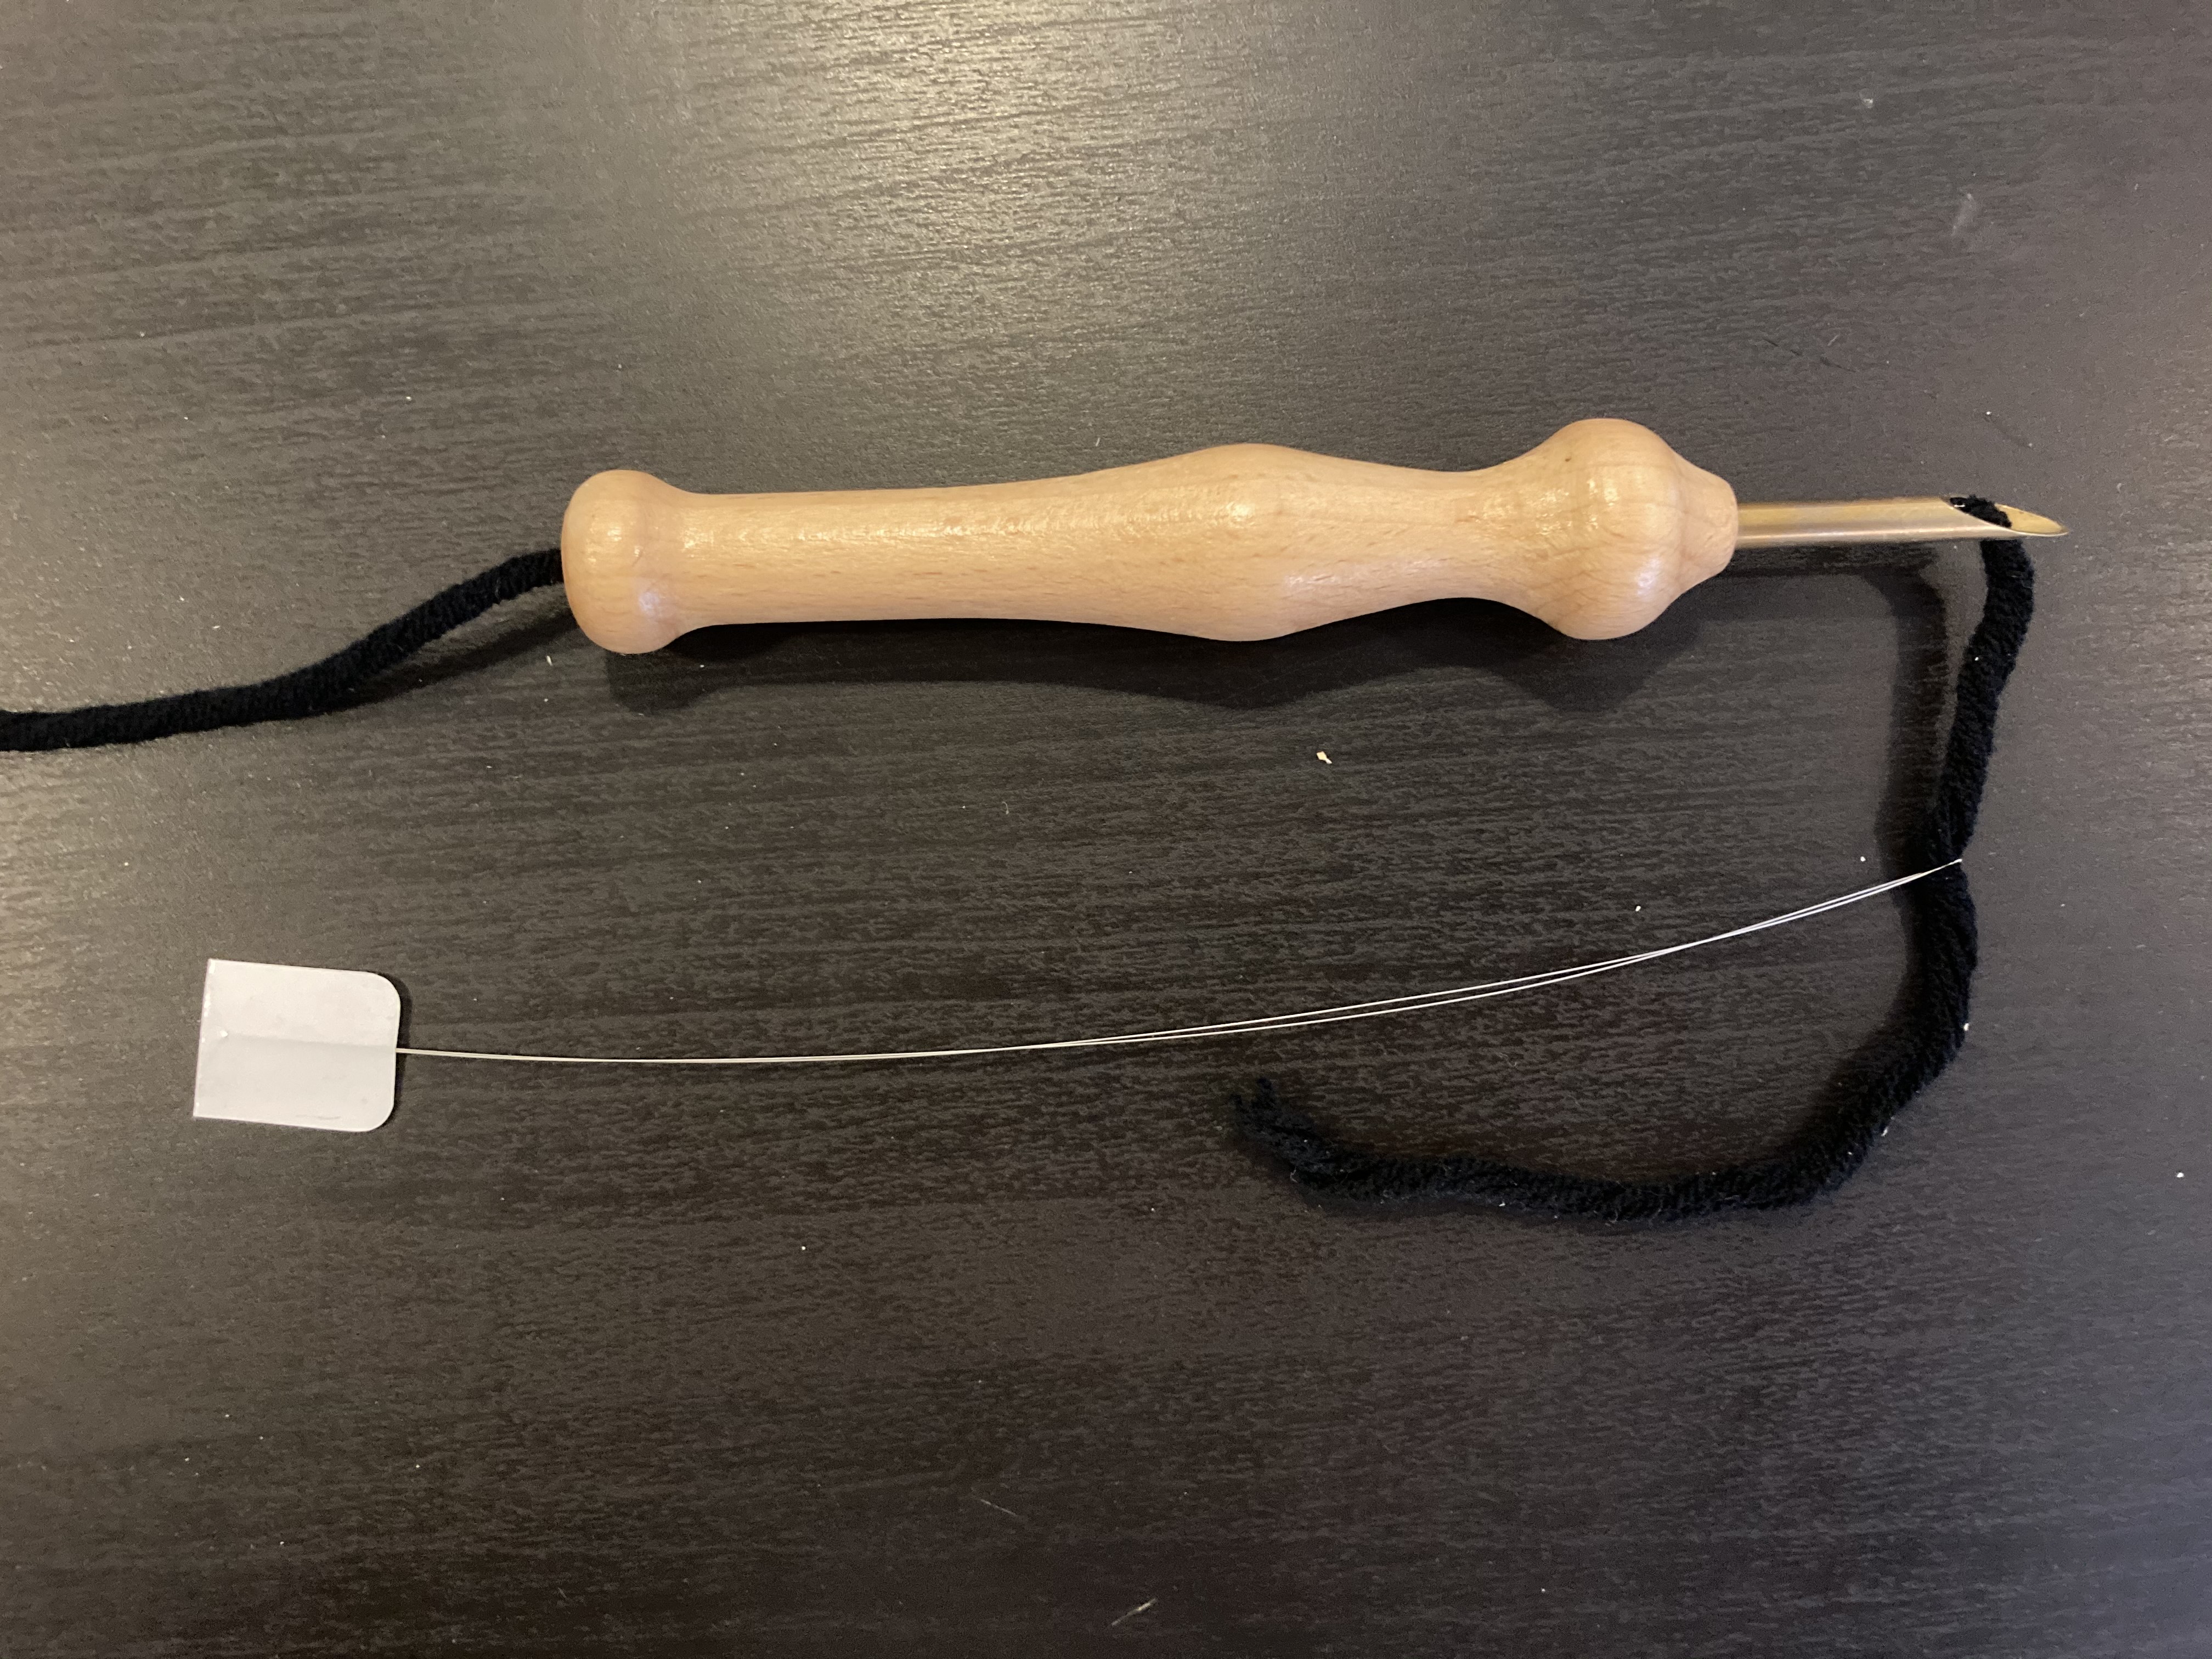
Place the needle threader in the punch needle handle.
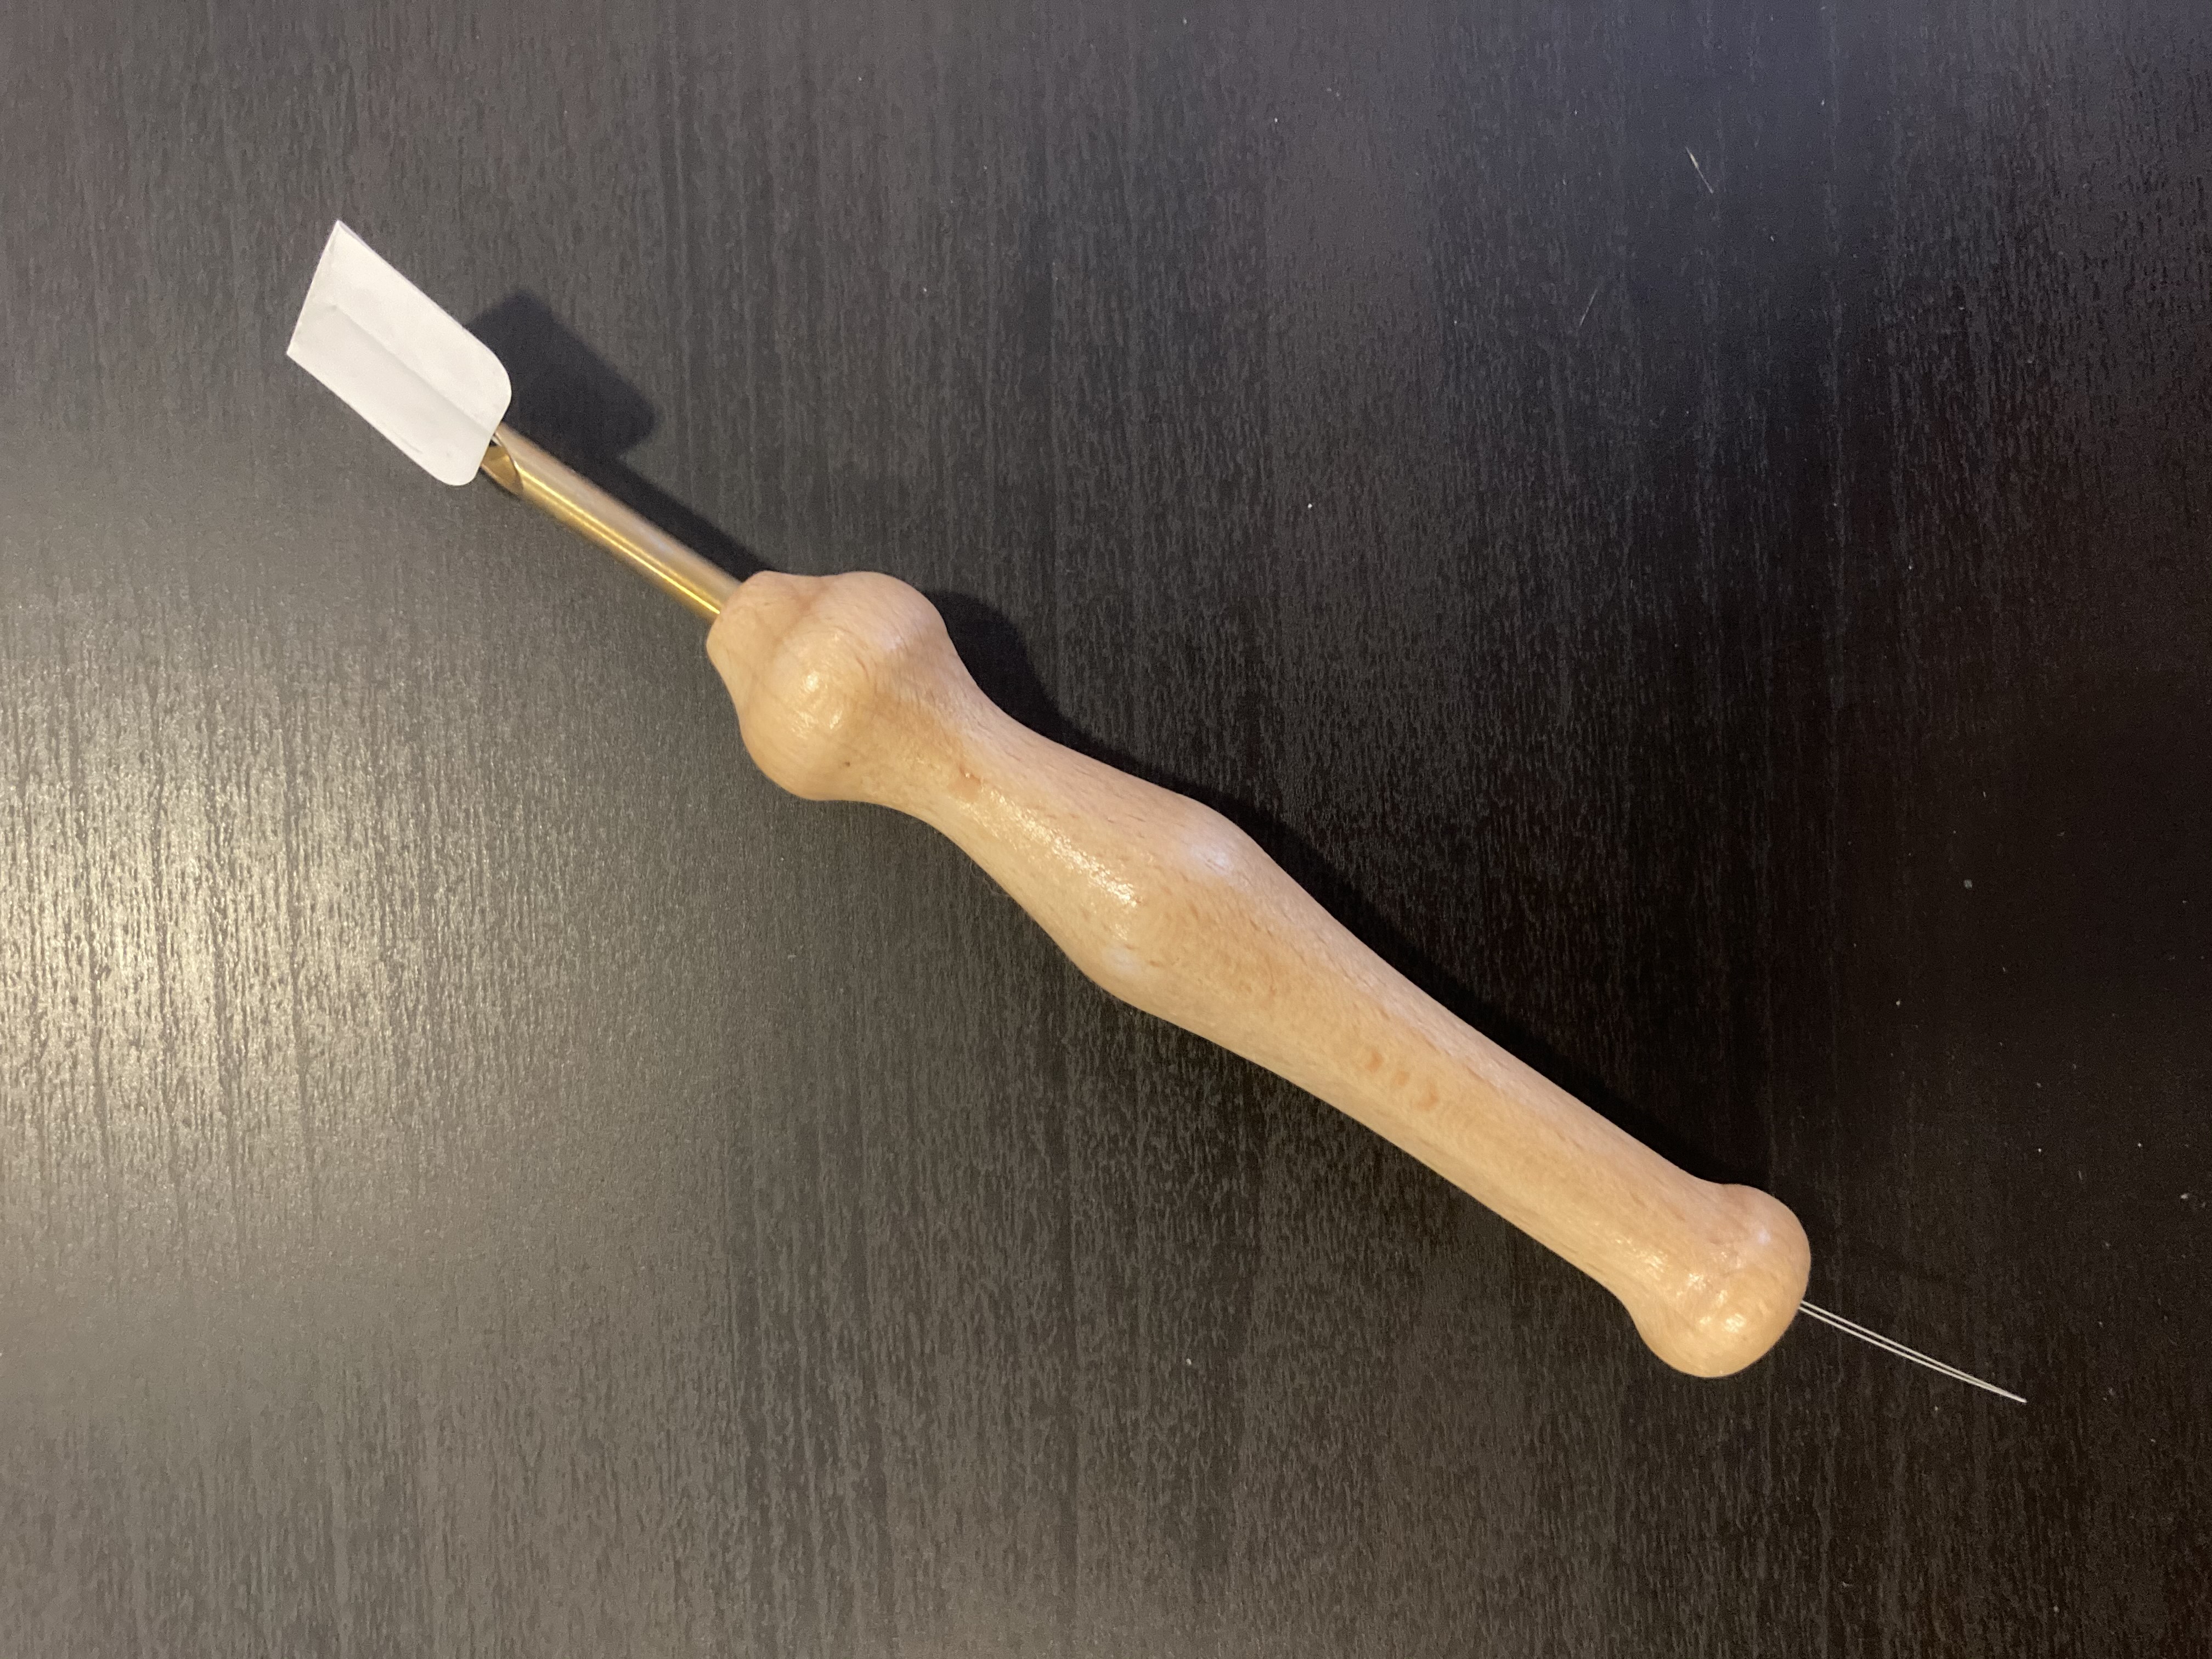
Thread the end of the ball through the needle threader.
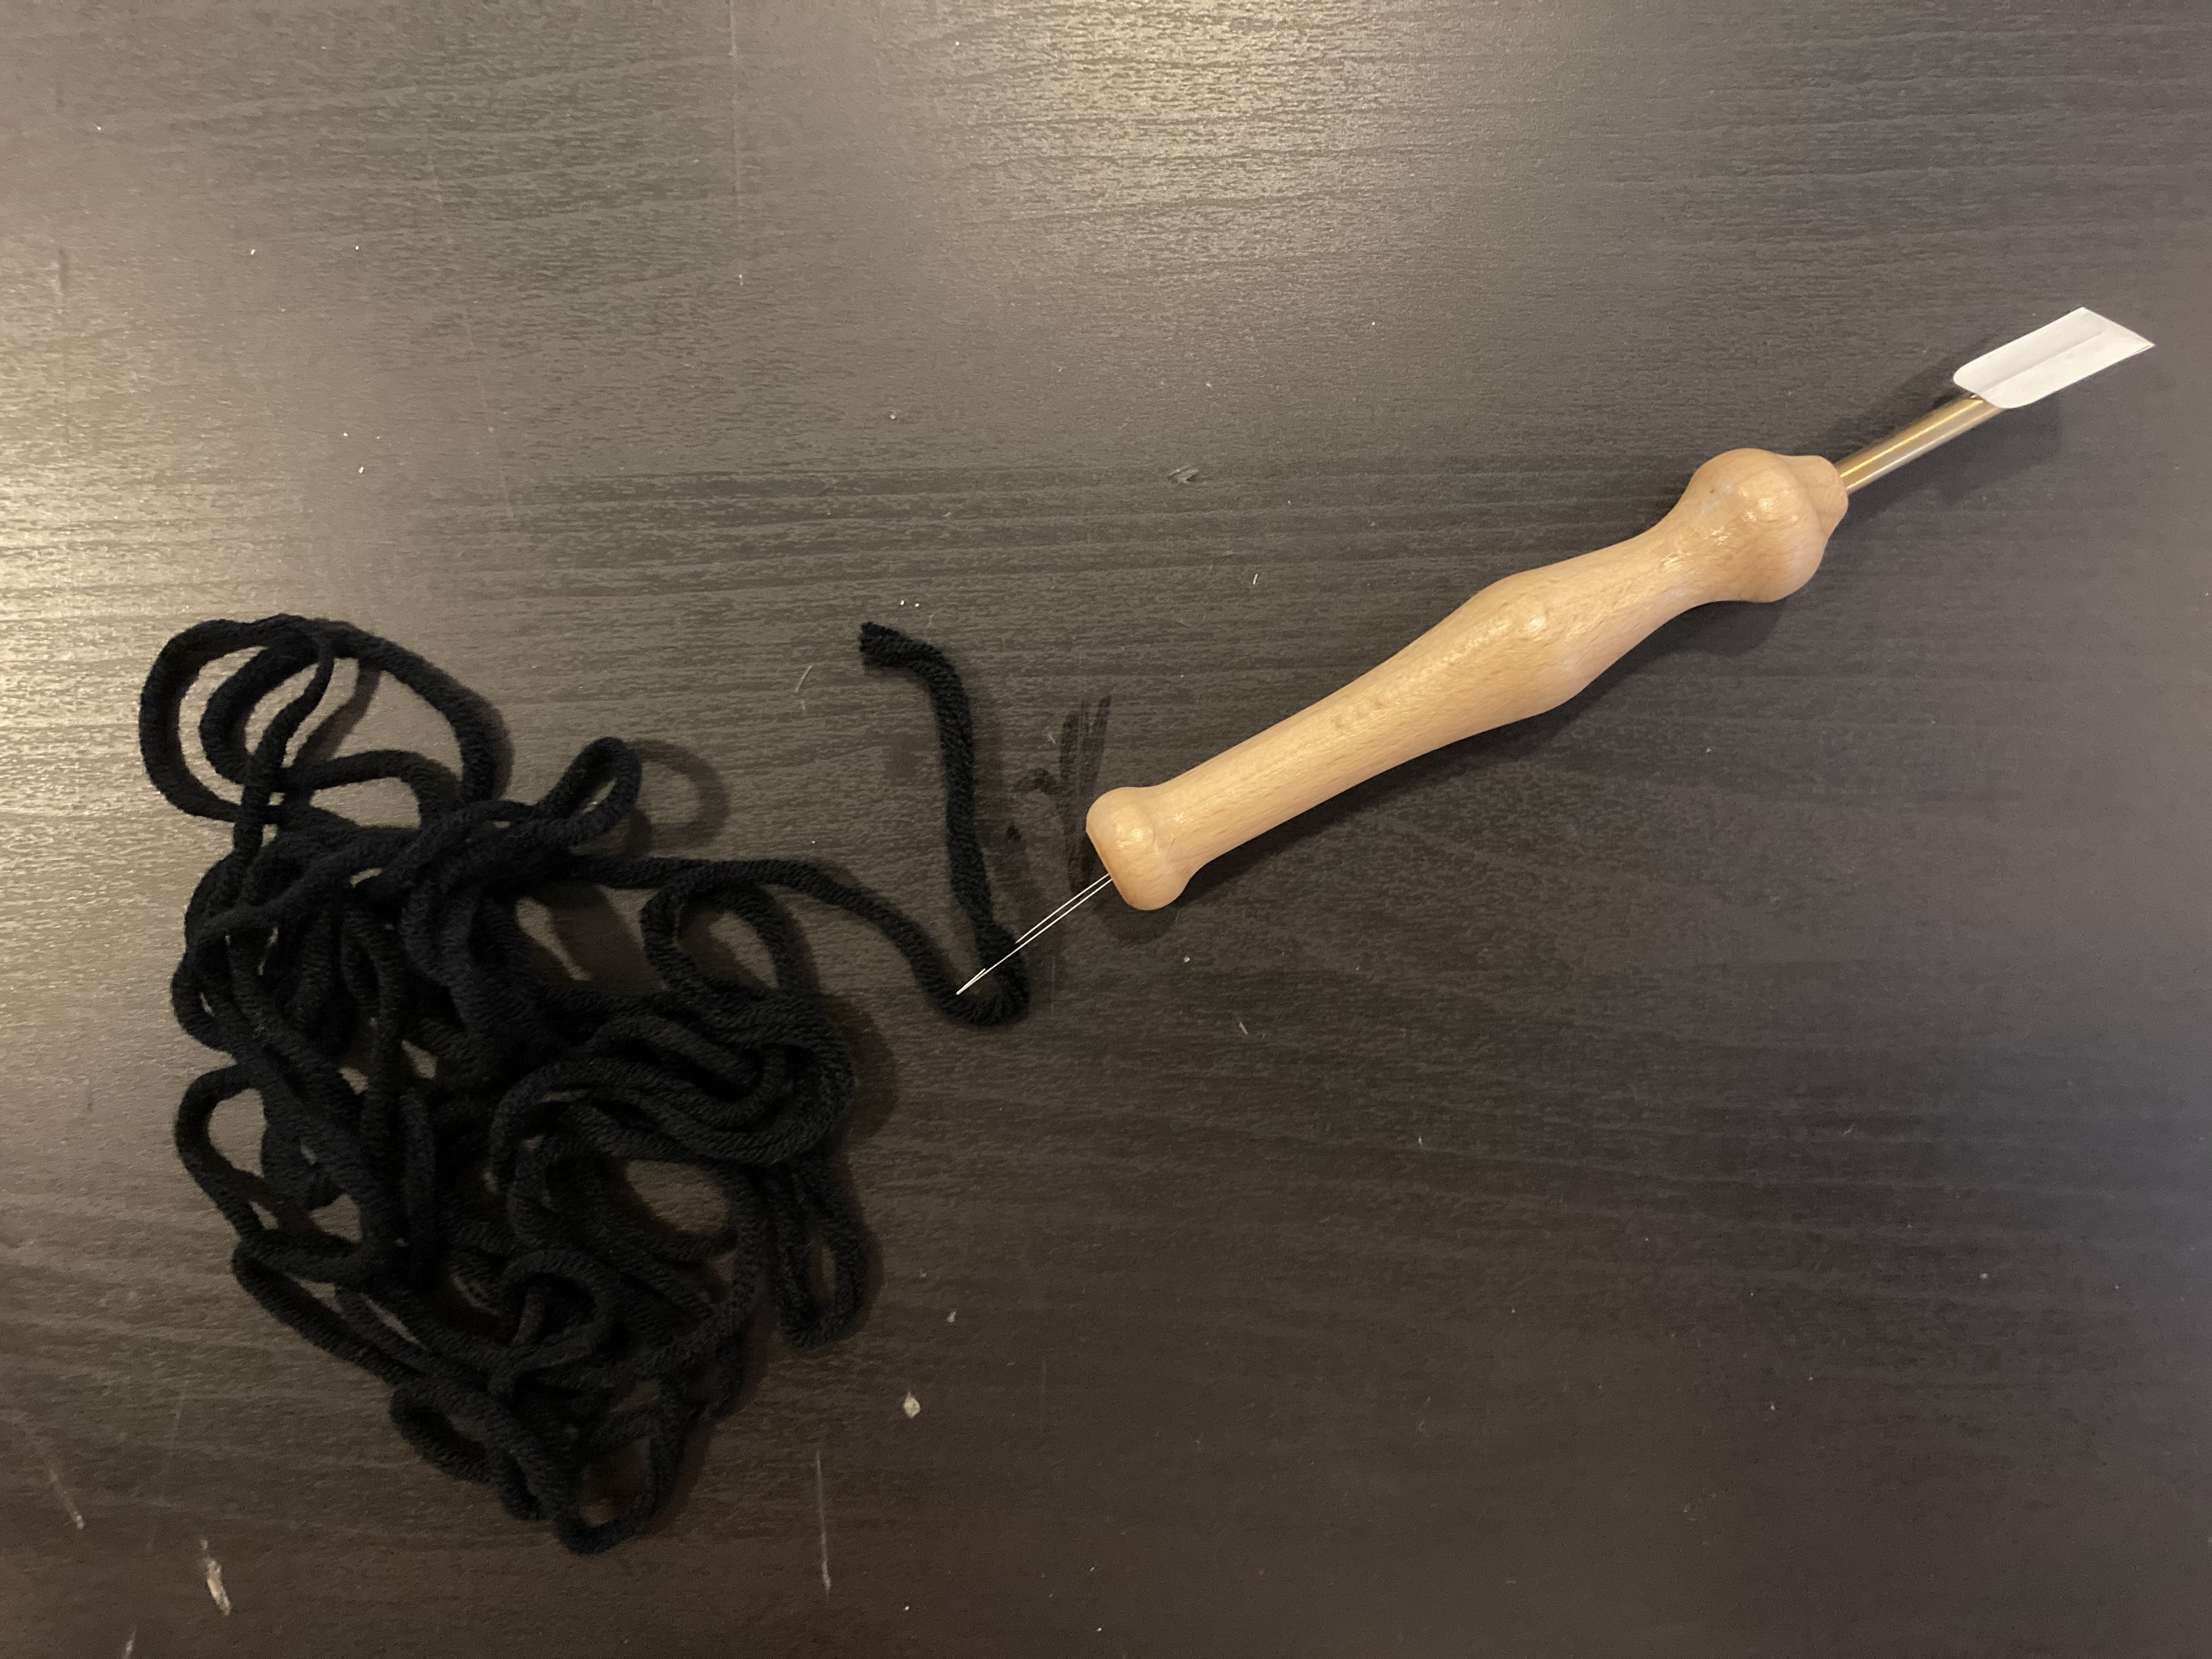
Pull on the needle threader to pass the yarn through the hole in the punch needle handle and out the other side.
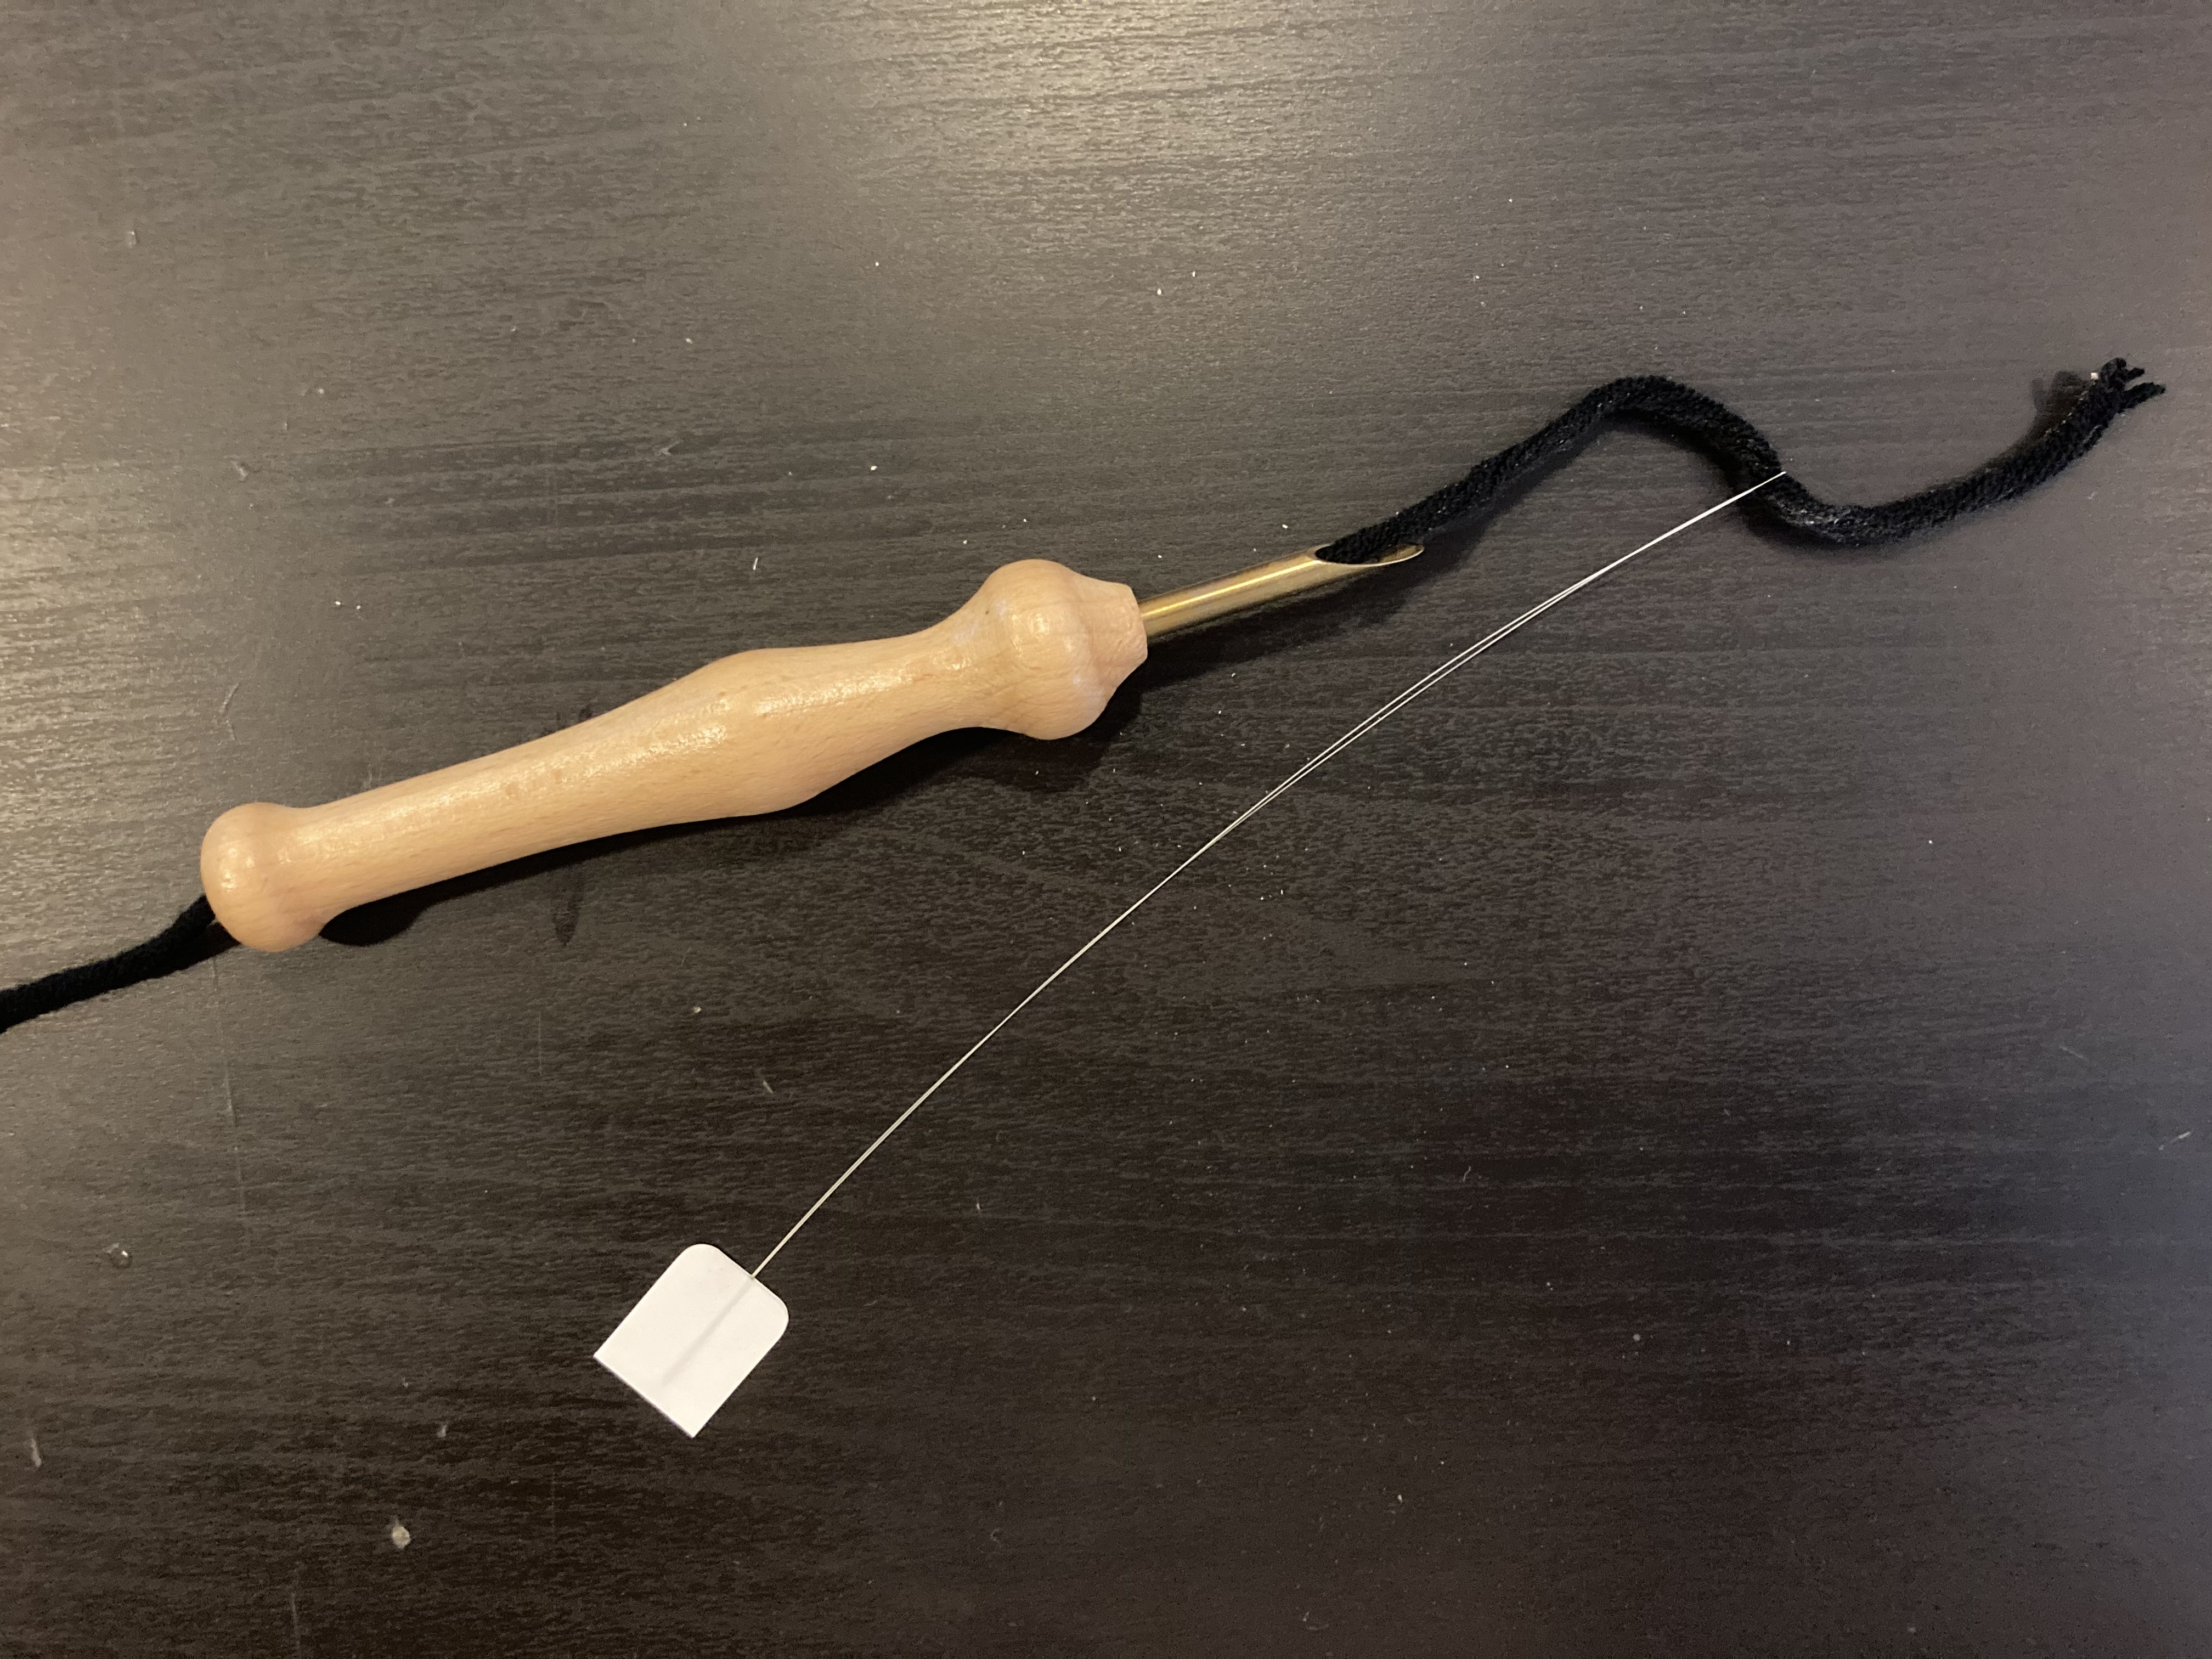
Pass the wool through the eye of the needle (hole) using the needle threader from the inside to the outside and extend the wool by about 4cm.
WEAVING
Start on a line of the design and push the needle through the fabric up to the handle.
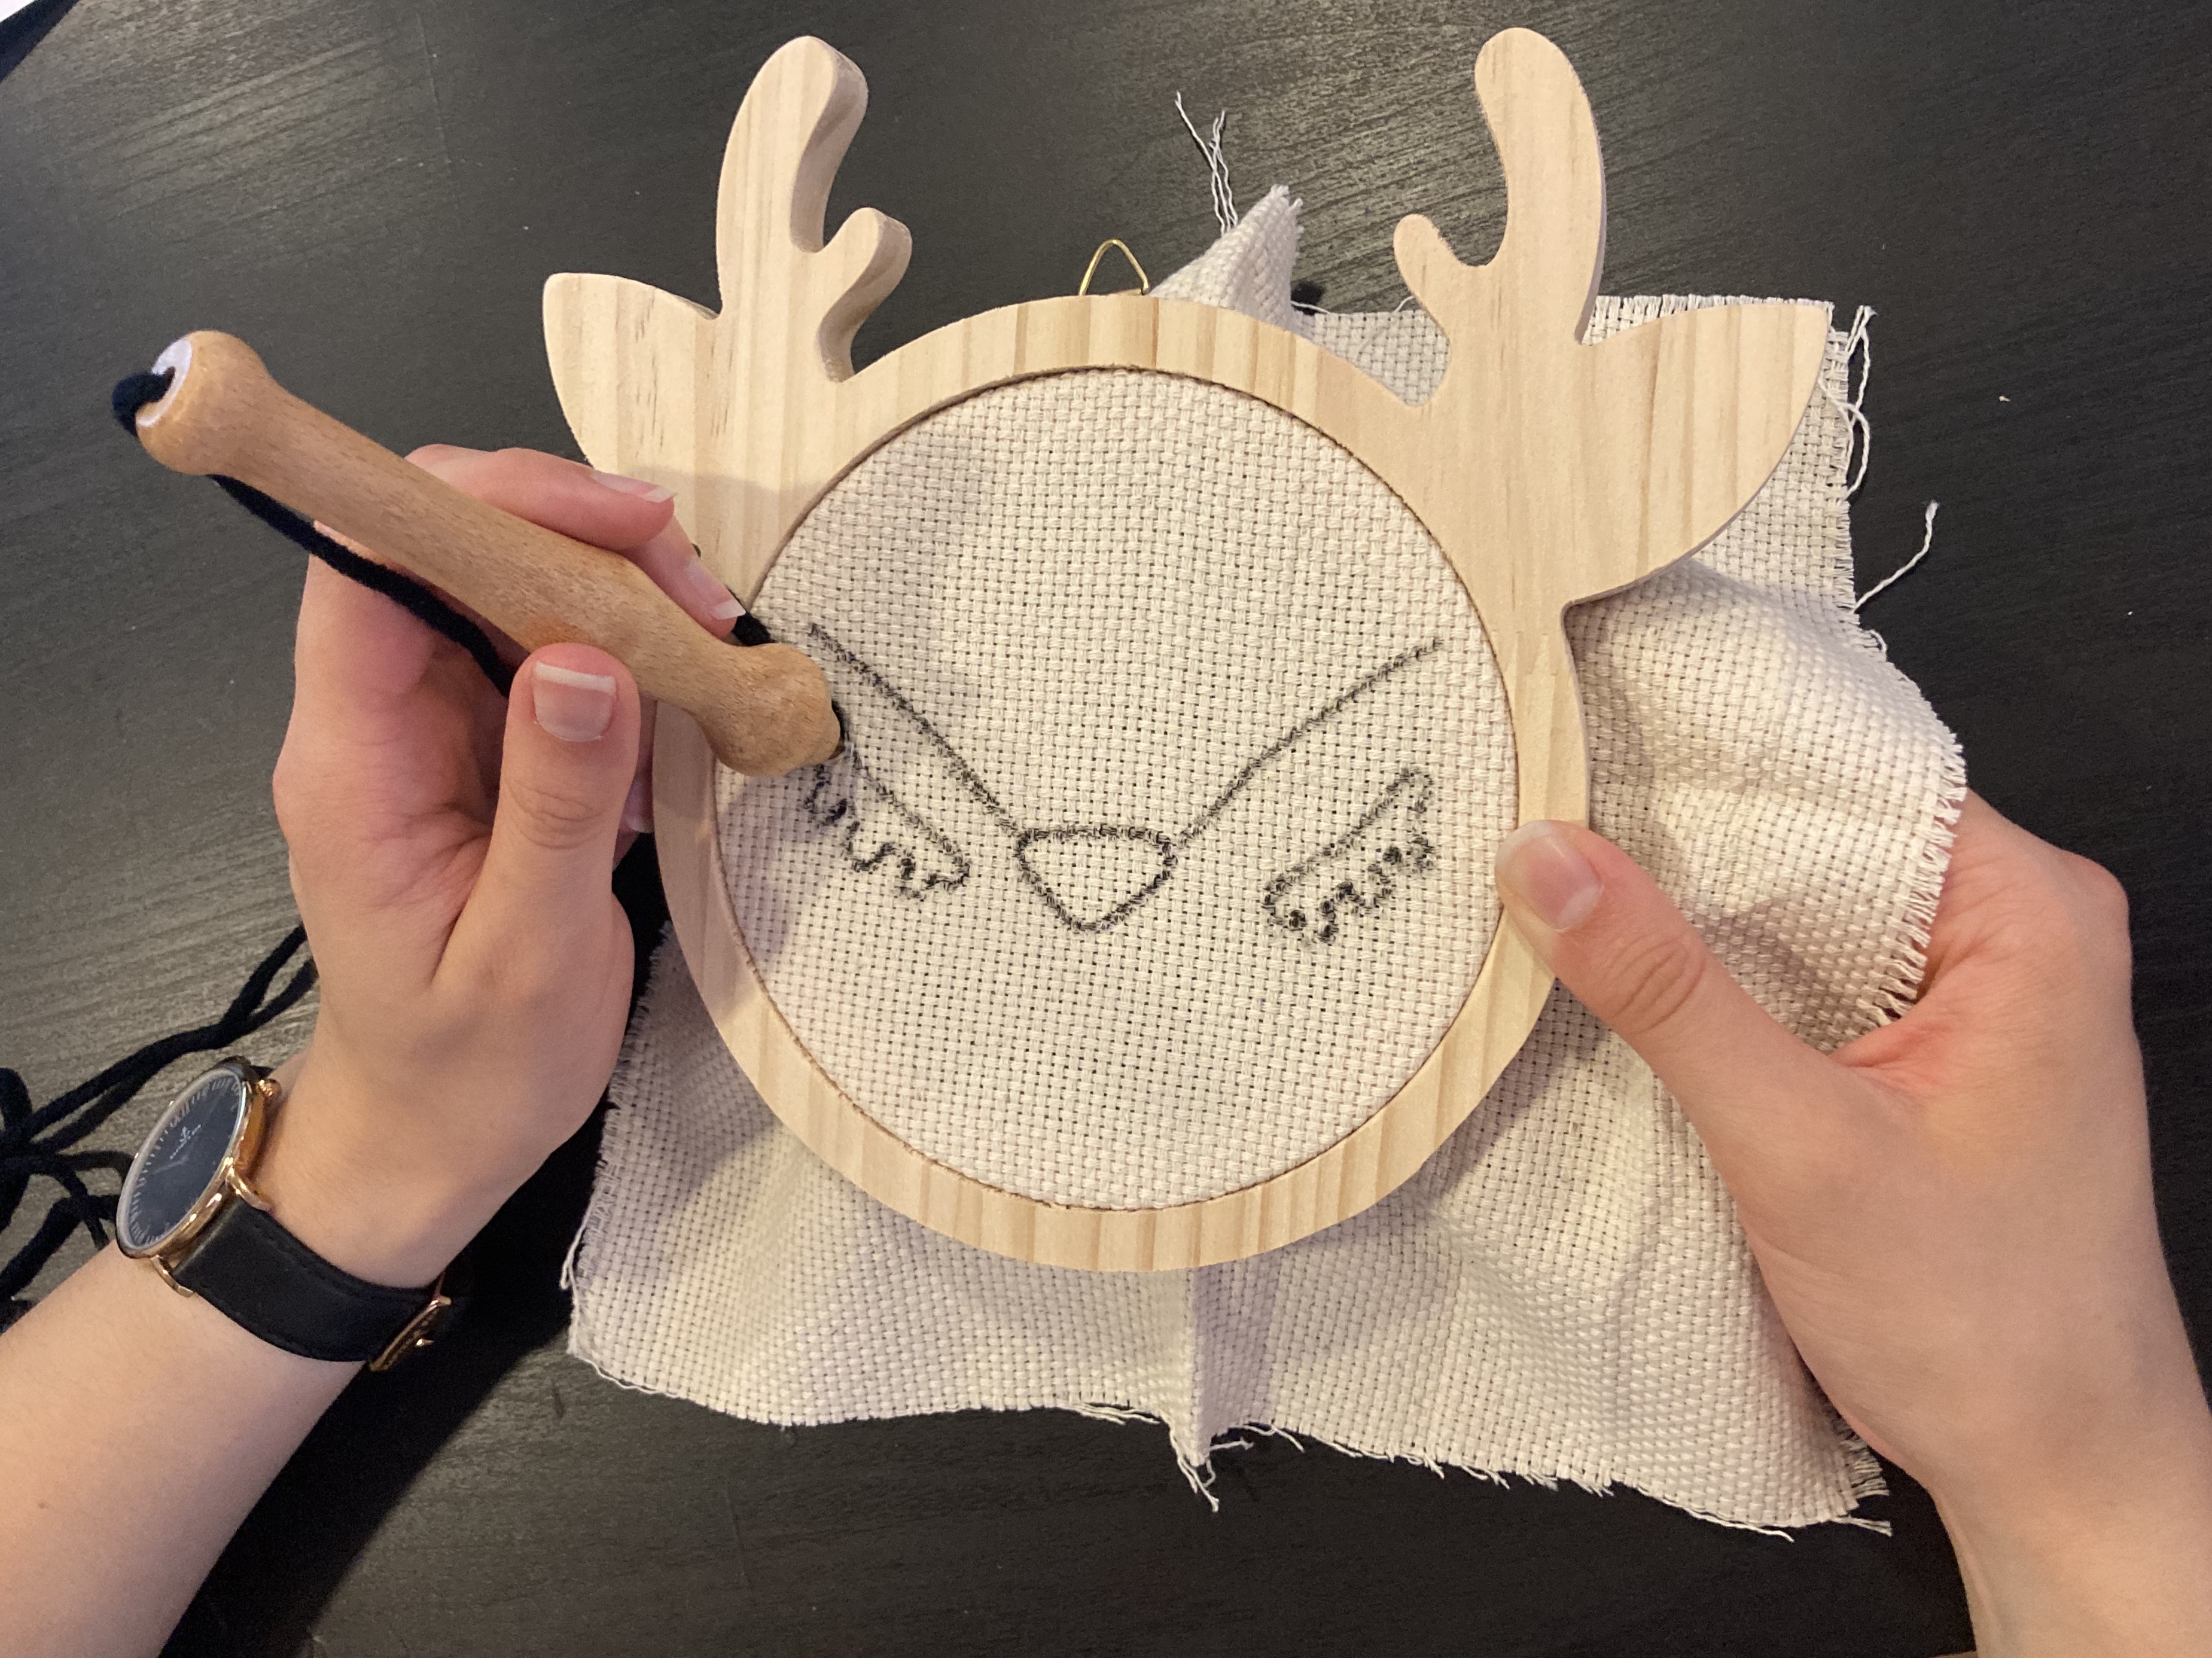
Take the needle out by barely peeling it off the canvas (at the risk of undoing everything!) And transplant about half a centimeter away. Always point the needle with the opening facing forward!
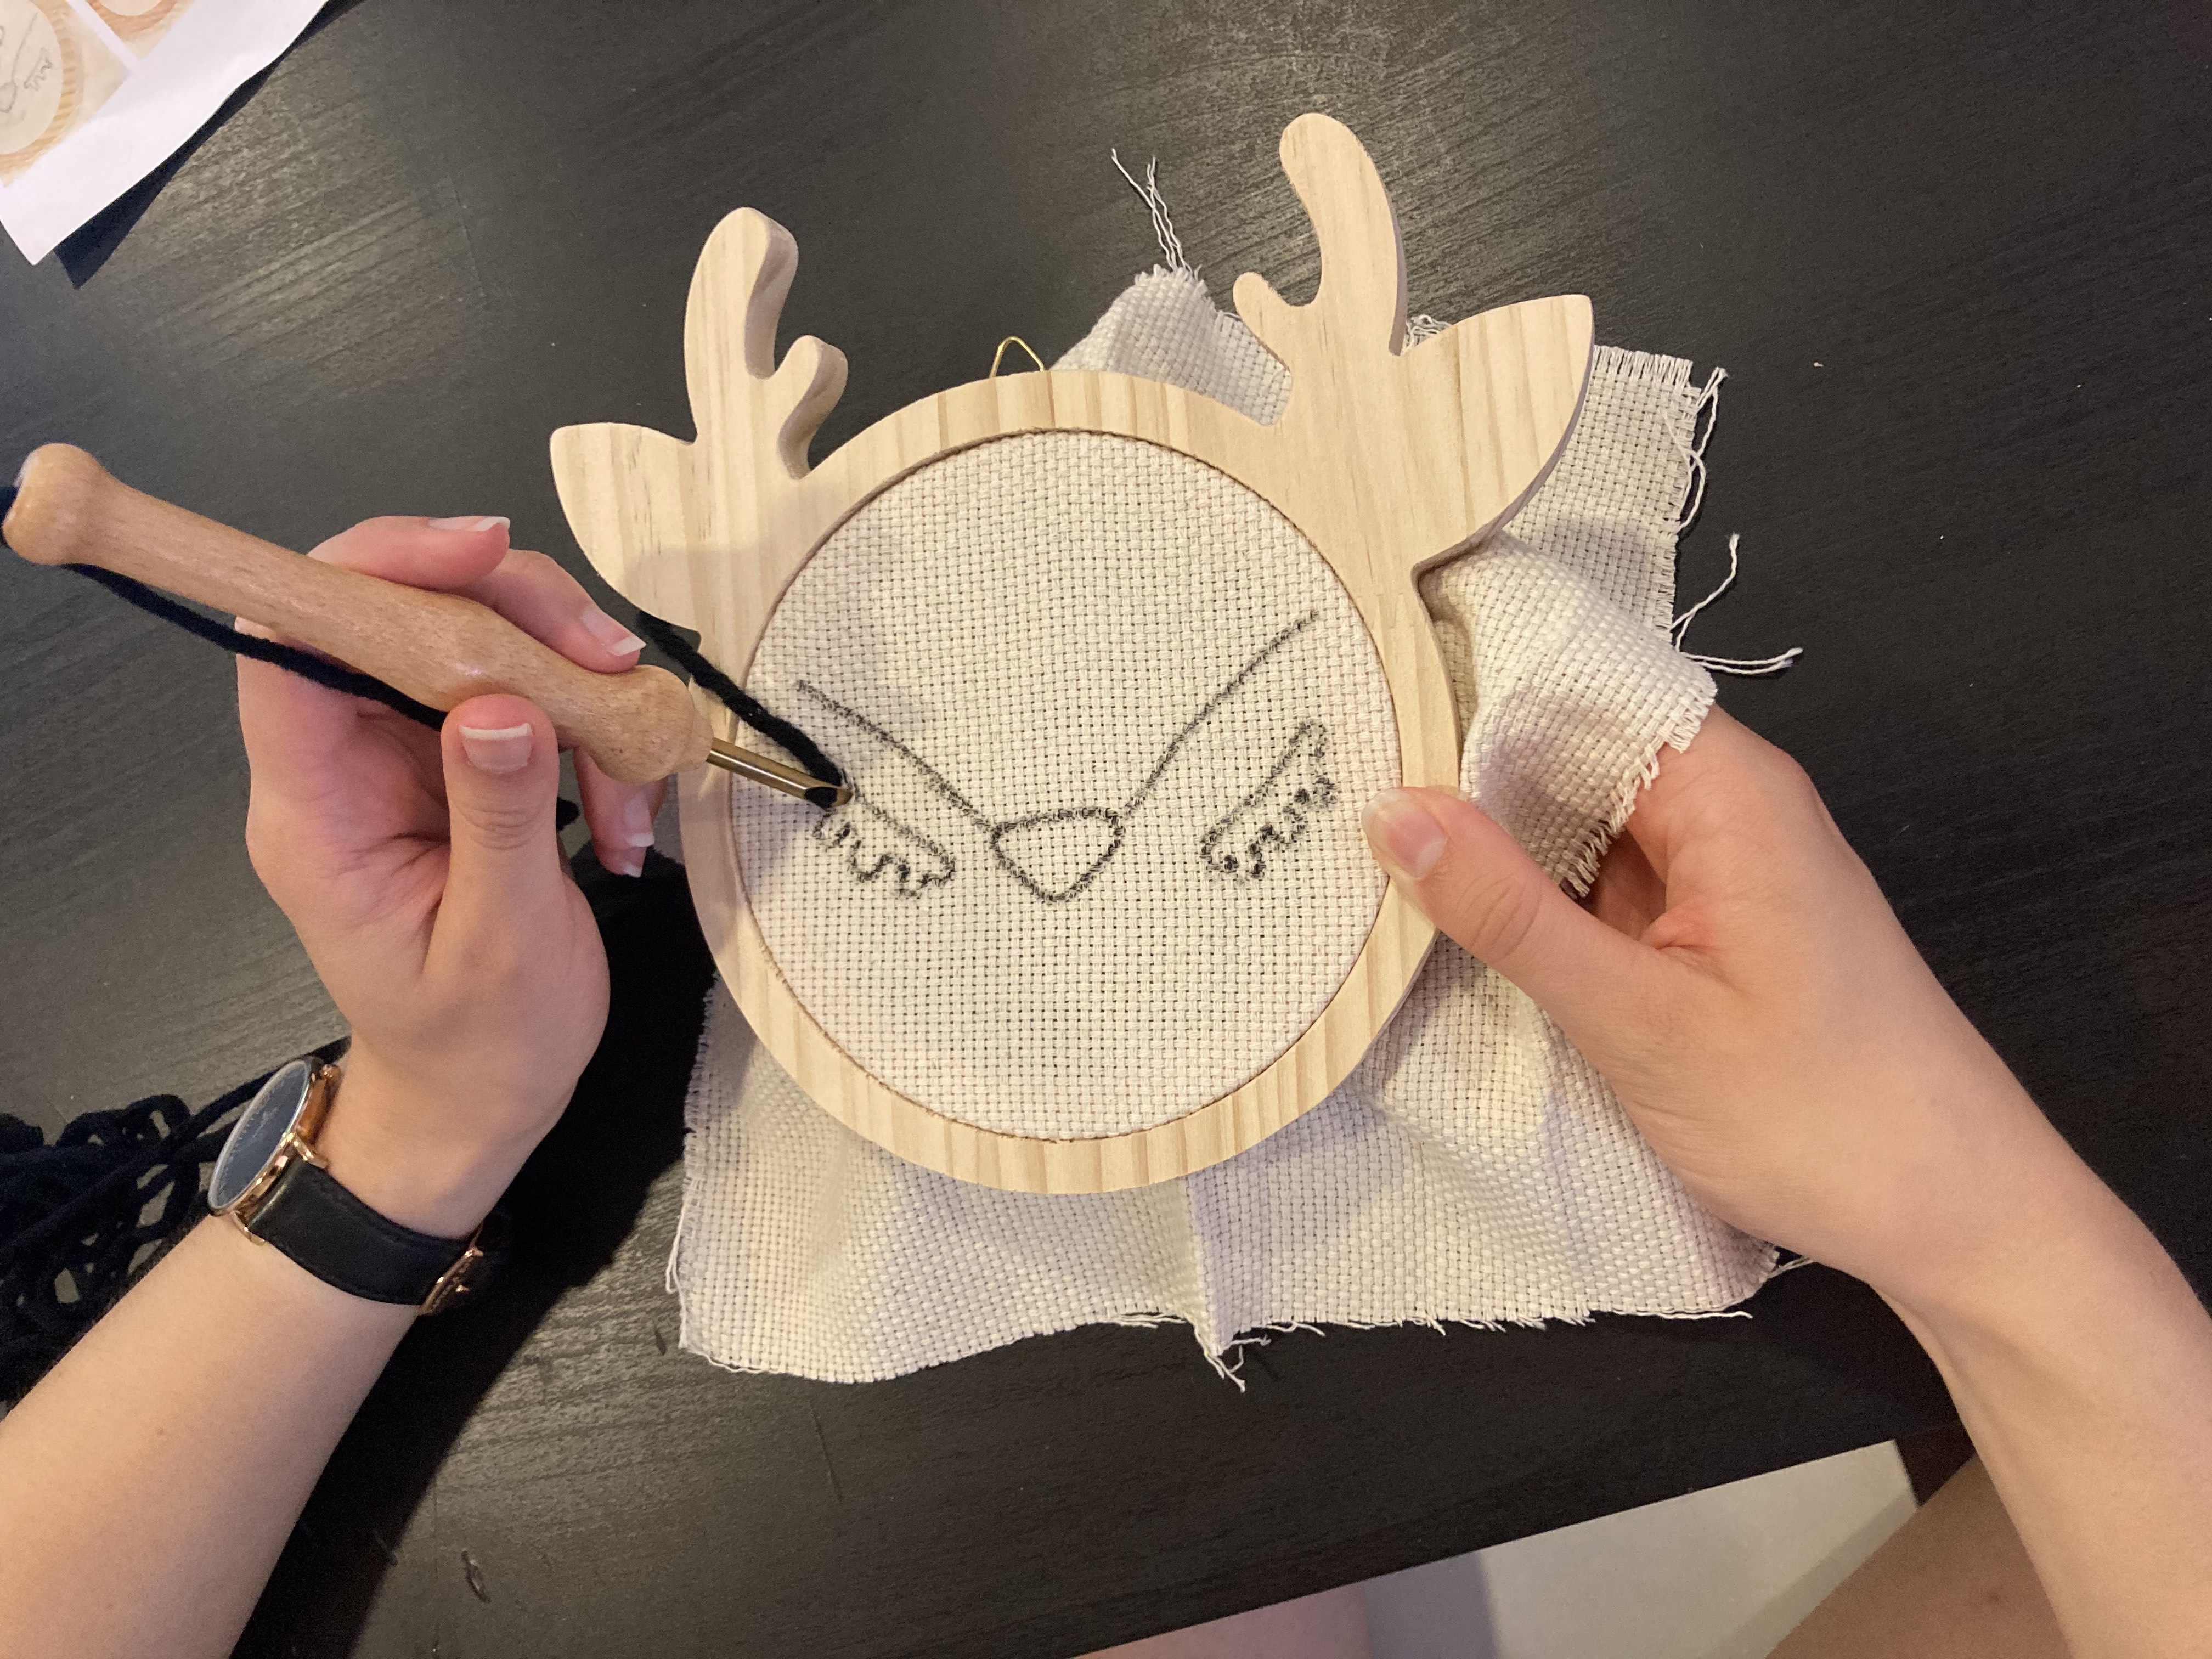
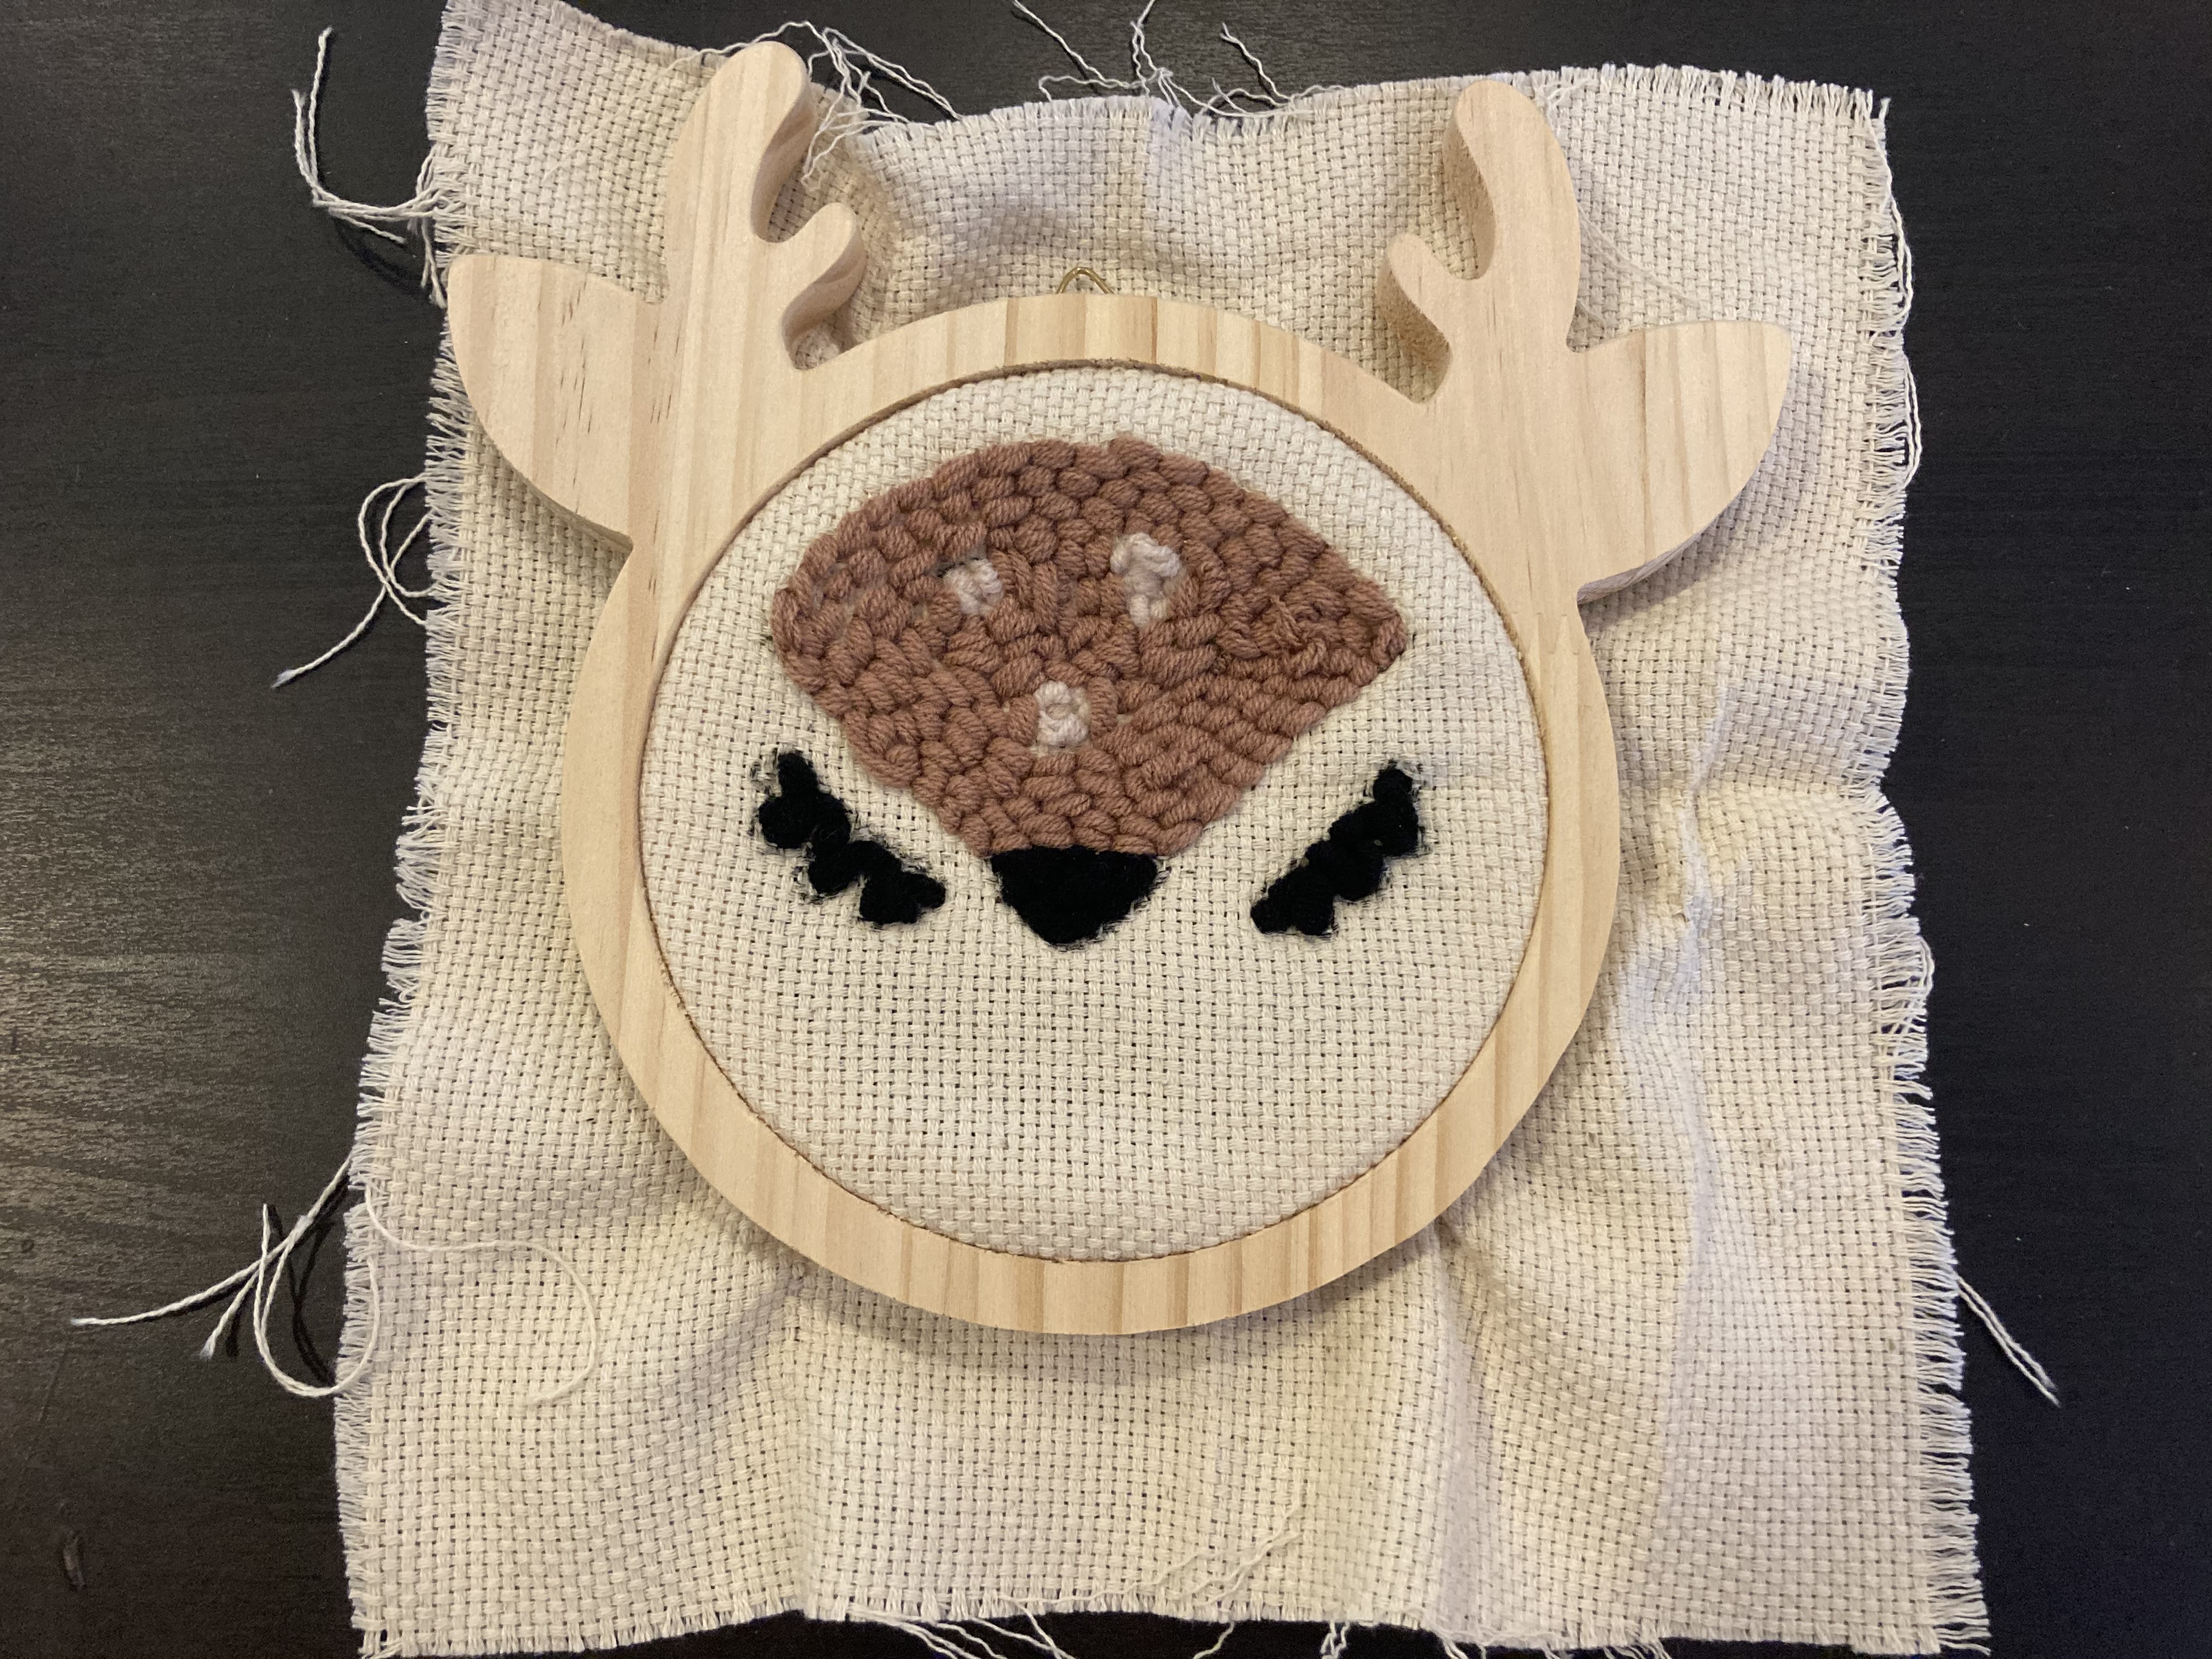
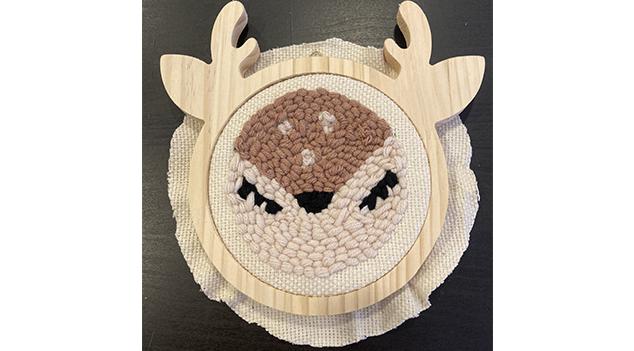
Follow the contours of the design and fill them in a snail shape, that is, from the outside to the inside in a circle.
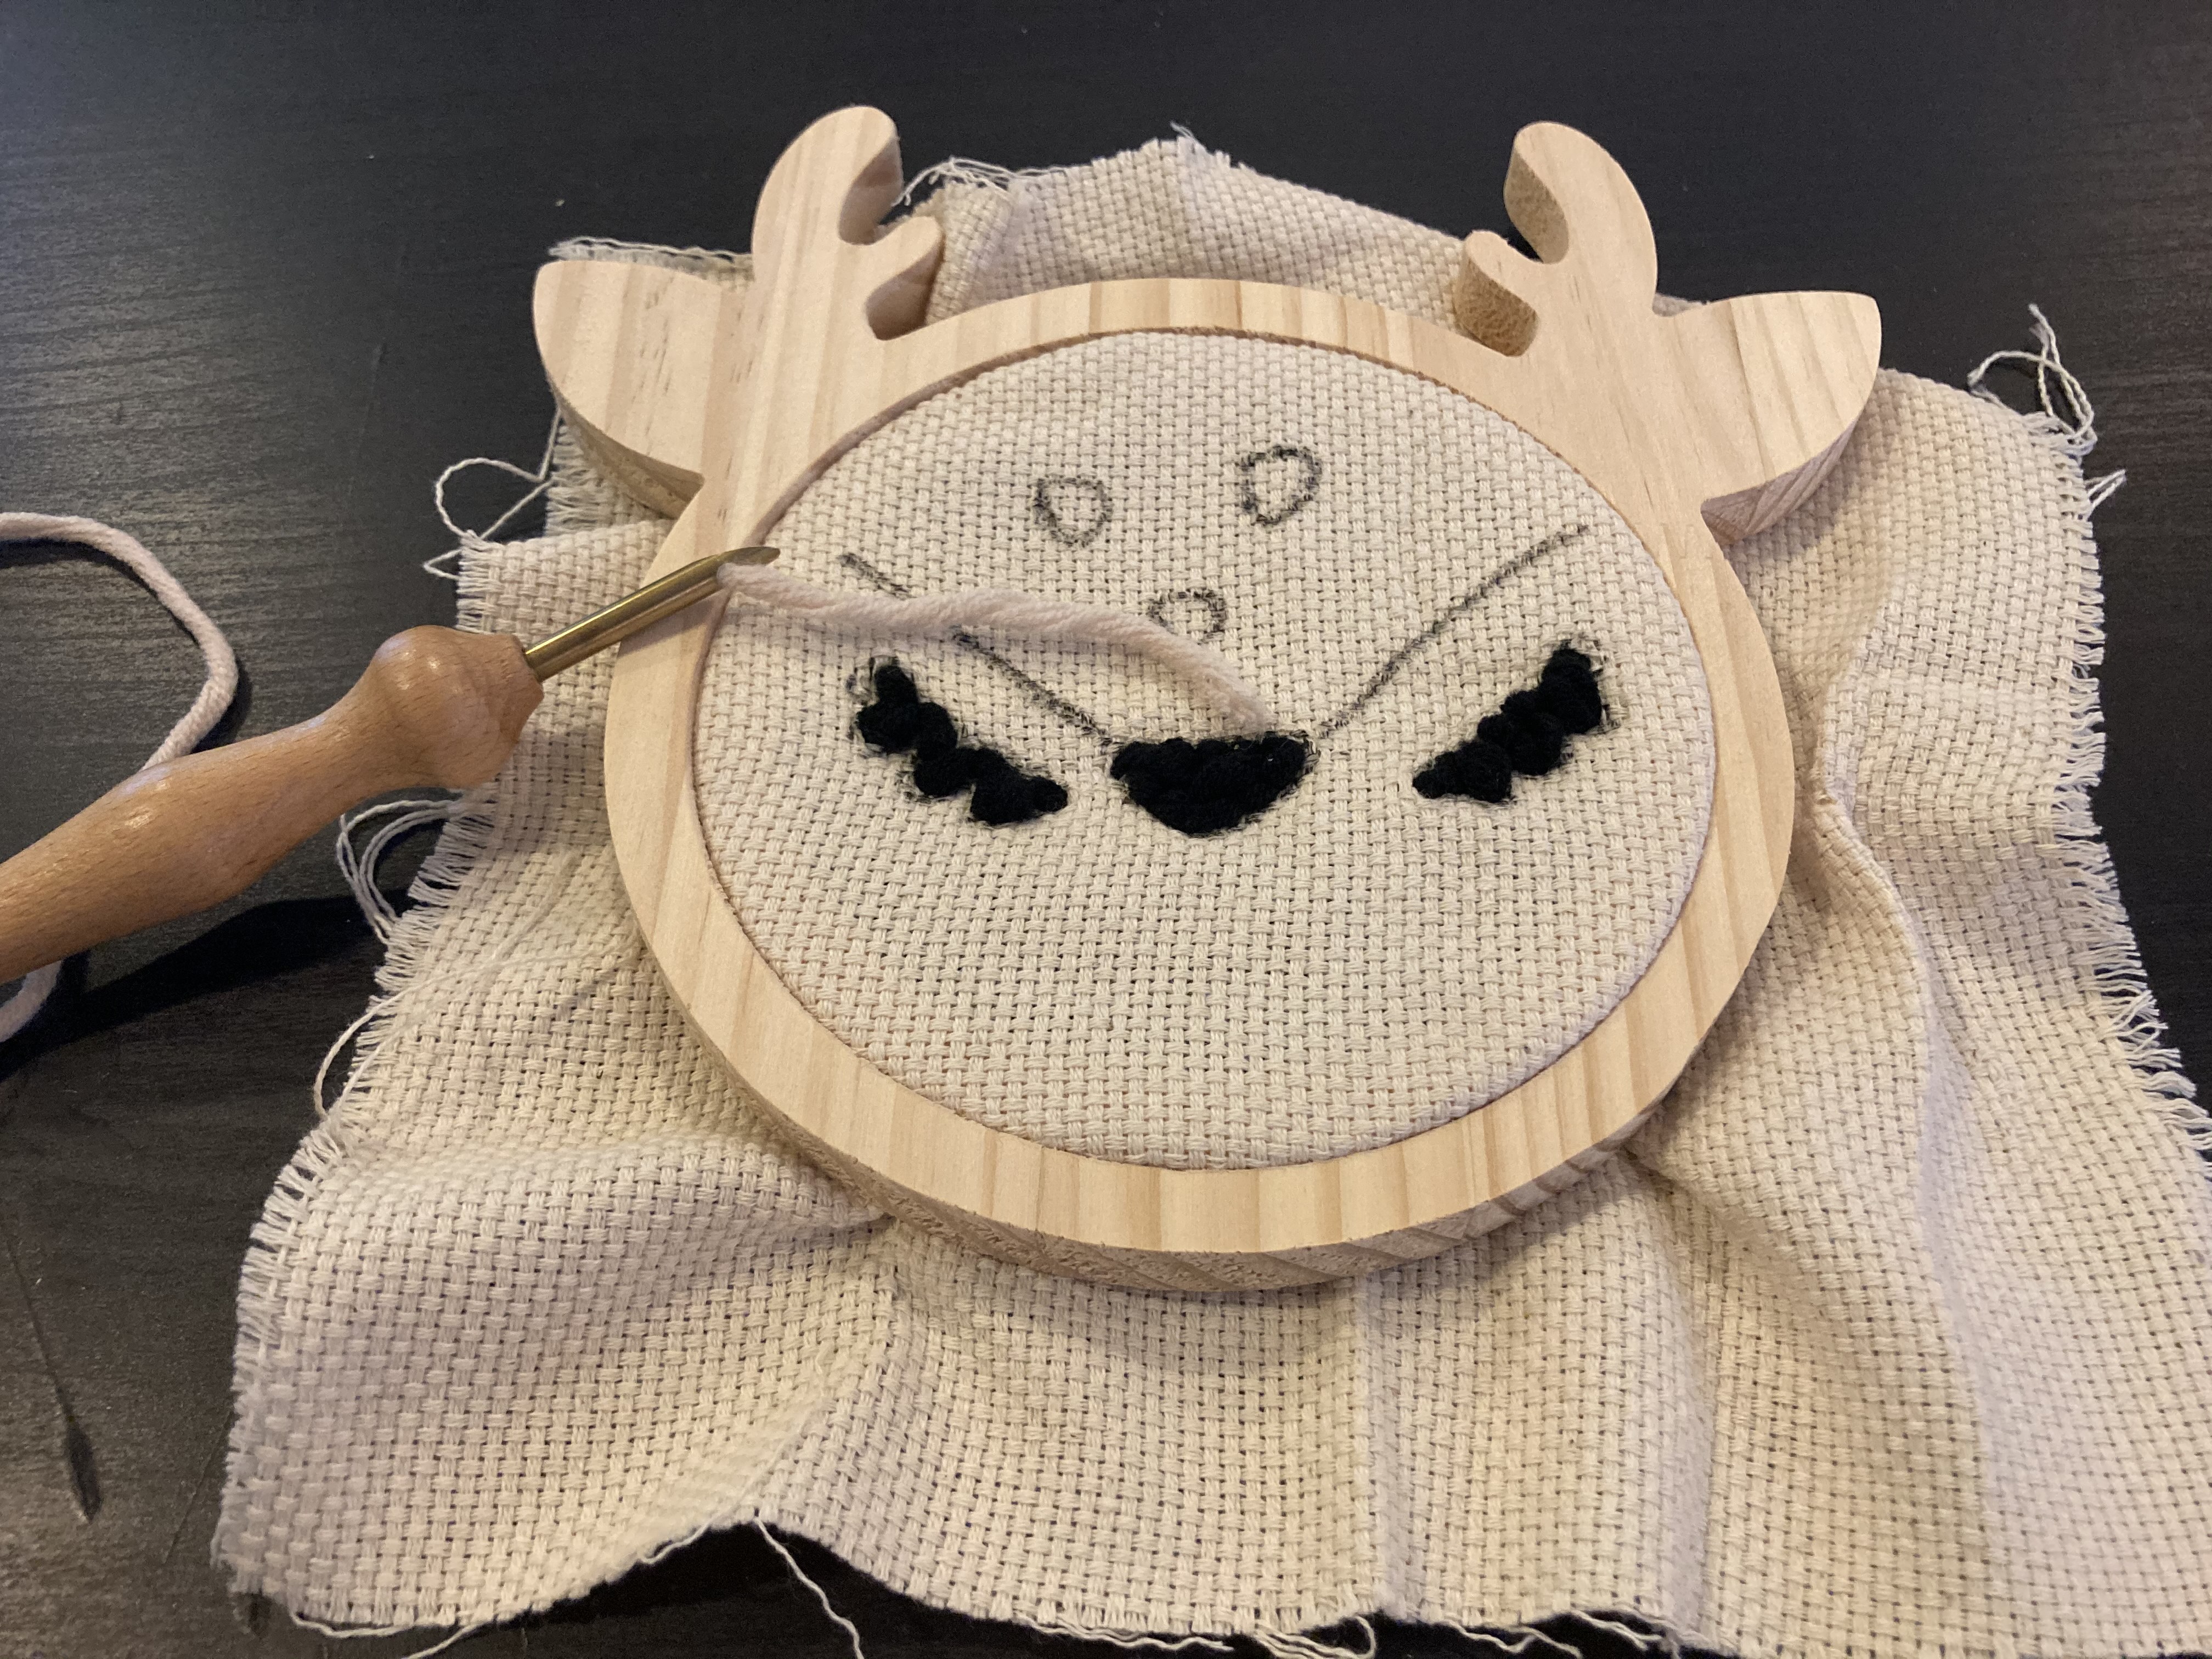
When securing a thread, gently pull out the needle and cut the thread about 1 cm. Tuck the stop and starter threads at the back of the canvas using the point of an embroidery scissor or punch needle.
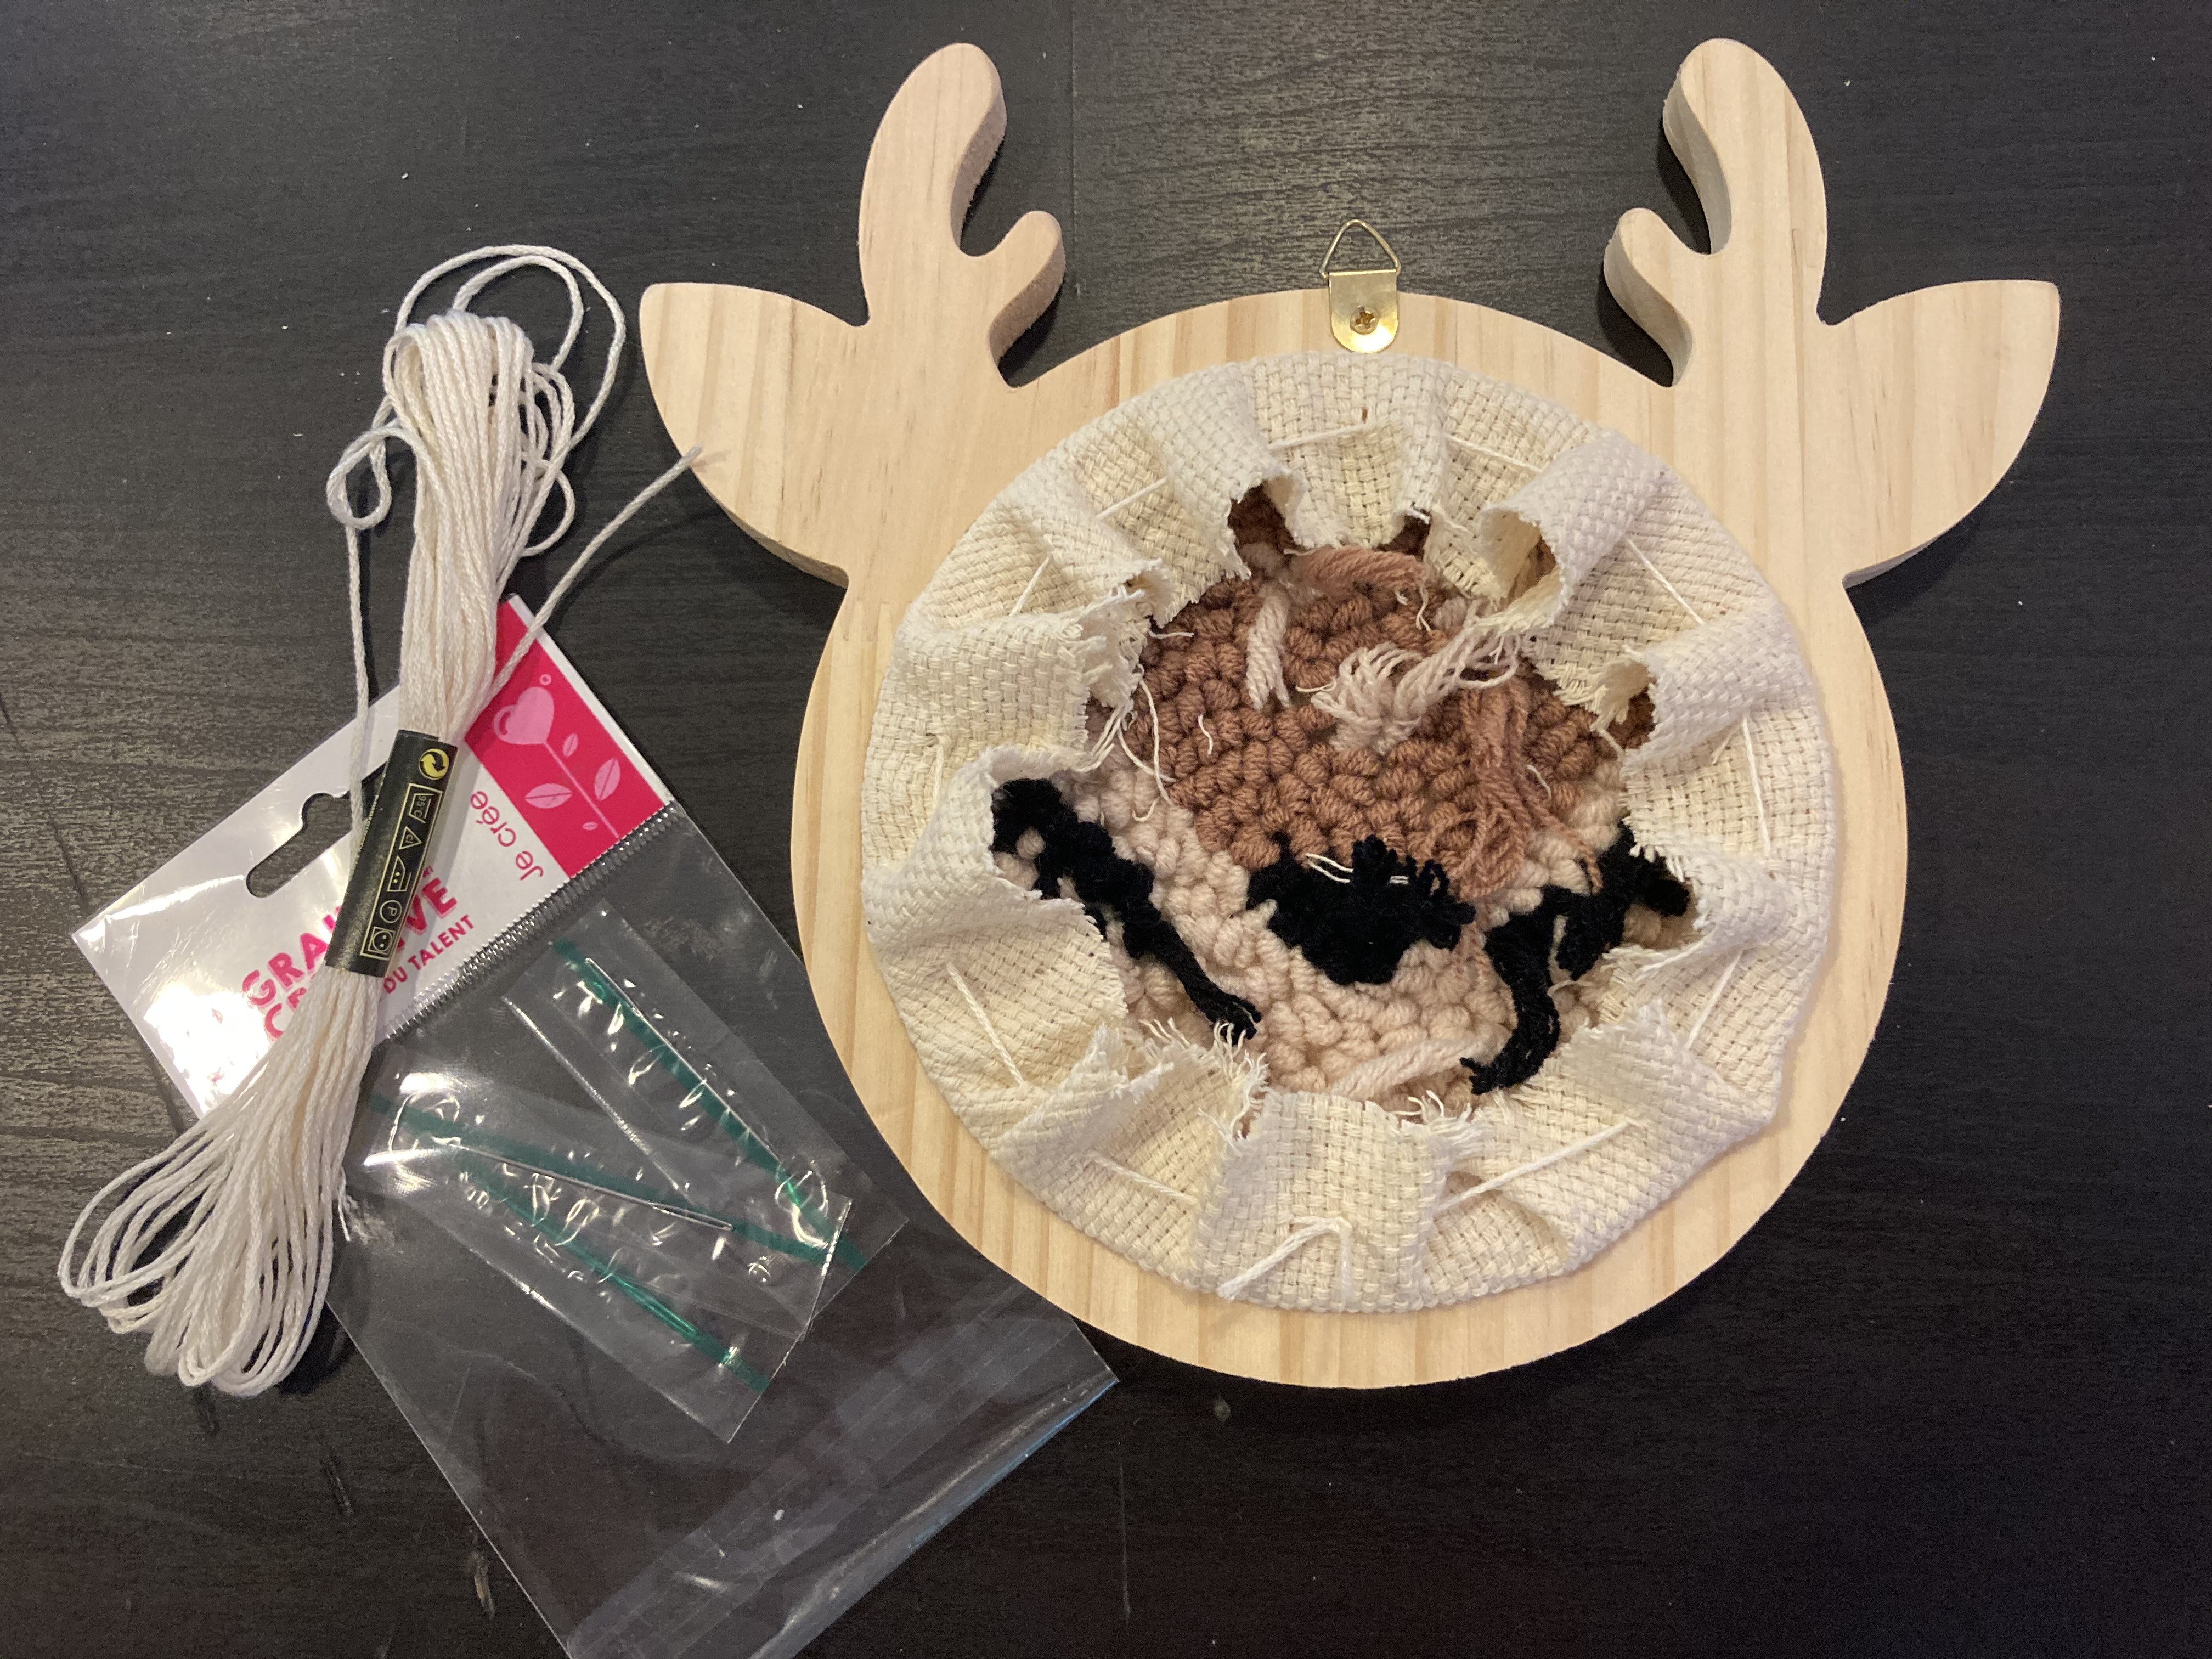
DOWNSTREAM
Once the canvas is full, turn the frame over and sew the excess canvas to the back with the thread and needle.
Are you ready ? To your needles!
All comments